If you’re trying to install a Windows update or device driver and encounter the cryptic error code 0x800F020B, you’re not alone. Many users experience this frustrating issue, especially when installing optional updates or working with external hardware devices. But fear not. In this comprehensive 2025 guide, we’ll walk you through exactly what error 0x800F020B means, why it happens, and step-by-step instructions to fix it effectively.
Table of Contents
TL;DR (Too Long; Didn’t Read)
Error 0x800F020B often appears during Windows updates or driver installations and usually means the targeted device is not connected or detected. To resolve it, ensure the device is properly plugged in, try running Windows Update Troubleshooter, and reinstall or update the drivers manually if needed. Advanced users might also inspect Windows logs or use DISM and SFC tools for repair. Follow this guide for a full breakdown of each approach.
What Is Error 0x800F020B?
The Install Error 0x800F020B is a Windows update or driver installation-related issue. The error message typically reads: “The driver cannot be installed because the device is not connected.” This often applies to external hardware like printers, USB devices, or audio interfaces.
In simpler terms, Windows is trying to update or install software for a device that isn’t currently plugged in or recognized by the system. It’s common when updating drivers via Windows Update for devices that were once used but are now disconnected.
Common Causes of Error 0x800F020B
- The device is physically disconnected or powered off during the update process.
- Incorrect or corrupted device drivers.
- Registry inconsistencies or corrupt update files.
- Windows Update attempting to install drivers for an outdated or removed device.
Step-by-Step Solutions to Fix Error 0x800F020B
1. Verify Device Connection
Before diving into advanced troubleshooting, start with the basics:
- Ensure the affected hardware (e.g., printer, webcam, or external USB device) is properly connected and recognized by the system.
- If the device is connected via USB, try switching to a different port.
- Restart the PC and reconnect the hardware, allowing it a moment to register.
Often, once the device is reconnected and active, the update resumes and installs without errors.
2. Run the Windows Update Troubleshooter
Windows includes a built-in troubleshooter that identifies and resolves update-related problems.
- Open Settings > System > Troubleshoot.
- Select Other troubleshooters.
- Find Windows Update and click Run.
Let the tool run and apply any recommended fixes. Restart your computer afterward and try the update again.
3. Manually Reinstall or Update the Driver
If the device in question is identified, try manually updating or reinstalling its driver:
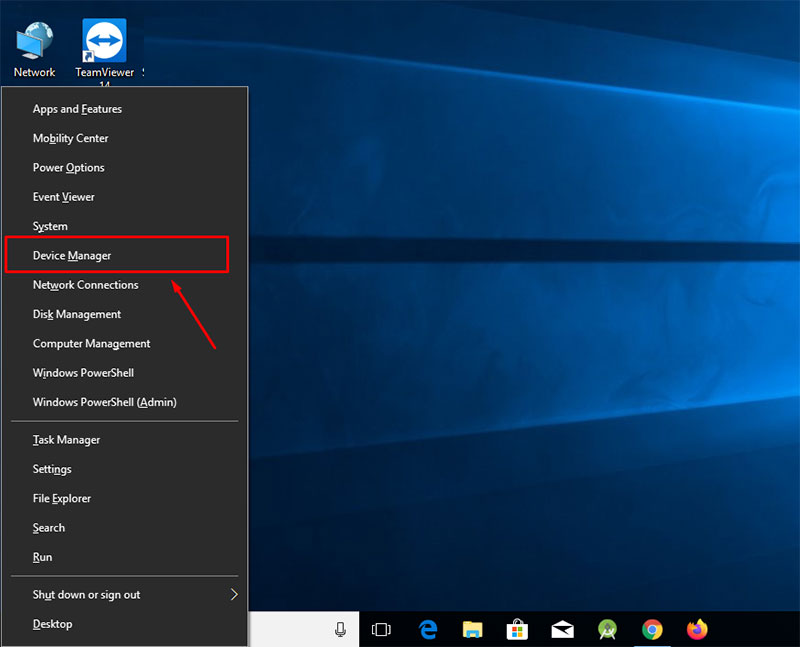
- Press Windows + X and choose Device Manager.
- Locate the problematic device (might show as unknown or inactive).
- Right-click the device and choose Update driver or Uninstall device.
- If uninstalled, disconnect and reconnect the device to trigger re-detection and reinstallation.
You may also download the latest drivers directly from the manufacturer’s website.
4. Use DISM and SFC to Repair System Files
Corrupted or missing system files can contribute to update failures.
- Search for Command Prompt, right-click, and select Run as administrator.
- Run the following commands one at a time:
DISM /Online /Cleanup-Image /RestoreHealth
sfc /scannow
These tools check system integrity and fix any underlying problems. Restart your PC after running the commands.
5. Identify the Problematic Device via Update History
If the error keeps reappearing and you’re unsure which device it’s targeting, follow these steps:
- Open Settings > Windows Update > Update history.
- Expand Driver Updates and look for any failed driver entries.
- Note the name of the hardware — this gives you a clue about which component is involved.
You can then search and install drivers manually or disable updates for that particular driver if it’s outdated.
6. Prevent Windows from Reinstalling Problematic Drivers
If you know the driver causes trouble or you no longer use the device, you can stop Windows from reinstalling it:
- Press Windows + R, type
gpedit.msc, and press Enter (only on Pro and Enterprise editions). - Navigate to:
Computer Configuration > Administrative Templates > System > Device Installation > Device Installation Restrictions - Double-click Prevent installation of devices that match these device IDs.
- Enable the setting and add the hardware ID from Device Manager.
This stops Windows from trying to install updates for devices you no longer use or that cause issues.
7. Perform a Clean Boot
Sometimes, background programs interfere with Windows updates. A clean boot helps isolate the culprit:
- Press Windows + R, type
msconfig, and press Enter. - Under the Services tab, check Hide all Microsoft services and click Disable all.
- Go to the Startup tab and open Task Manager. Disable all startup items.
- Restart your PC and try the installation again.
Optional: Use the Show or Hide Updates Troubleshooter
If a specific update keeps triggering Error 0x800F020B, you can “hide” it so it won’t install again:
- Download the Show or Hide Updates Troubleshooter from Microsoft (search “wushowhide.diagcab”).
- Run it and follow instructions to prevent a specific update from being installed.
When to Seek Expert Help
If you’ve gone through all the steps above and still encounter the error consistently, it might be time to escalate:
- Contact device manufacturer support if it’s related to hardware.
- Consider using Microsoft’s Support Assist for official Windows help.
- Perform a system restore to revert your PC to a working state (ensure your files are backed up first).
Conclusion
Error 0x800F020B can seem daunting, but it’s usually tied to simple causes like a disconnected device or outdated driver. By ensuring proper hardware connection, using built-in tools like the Windows Update Troubleshooter and Device Manager, and repairing damaged system files, you can usually get past the issue quickly.
With this guide in hand, you’ll be ready to fix the error confidently, keep your system running smoothly, and understand what’s going on behind the scenes.