
Facebook is a go-to platform for millions of users daily, whether for catching up with friends, following current events, or managing a business page. Over time, however, the app or website may start to lag, behave inconsistently, or display outdated content. One common reason? A cluttered cache. Clearing Facebook’s cache can help you solve performance issues, regain storage space, and fix unexpected glitches.
Table of Contents
TL;DR (Too Long; Didn’t Read)
If Facebook is acting buggy or loading outdated data, clearing its cache might help. On a mobile device, you can do this through your phone’s settings or by uninstalling and reinstalling the app. On a desktop, clearing the browser cache or using Facebook settings can help refresh the data. It’s a simple process that could fix many common issues.
What is Facebook Cache?
The cache is temporary data stored by apps or web browsers to speed up performance. For Facebook, this includes images, scripts, login details, search history, or media you’ve browsed through. While caching helps load content faster, too much stored data can slow down the app or website due to corruption or outdated files.
Why Should You Clear Facebook’s Cache?
Clearing Facebook’s cache can improve your user experience. Here are a few key benefits:
- Free Up Storage: Cache files can take up valuable space, especially on mobile devices.
- Fix Display Issues: If posts aren’t loading or friends’ pictures aren’t updating, a corrupted cache could be the culprit.
- Privacy Boost: Erasing cached data ensures your recent activity isn’t stored unnecessarily.
- Log-in Troubles: Clearing cache can help resolve login problems caused by outdated data conflicts.
How to Clear Facebook Cache on Mobile
Depending on whether you use an Android or iOS device, clearing the cache can be done in a few different ways.
For Android Users
Android devices make it relatively easy to clear cache directly through system settings:
- Open the Settings app.
- Go to Apps or Apps and Notifications.
- Find and tap Facebook.
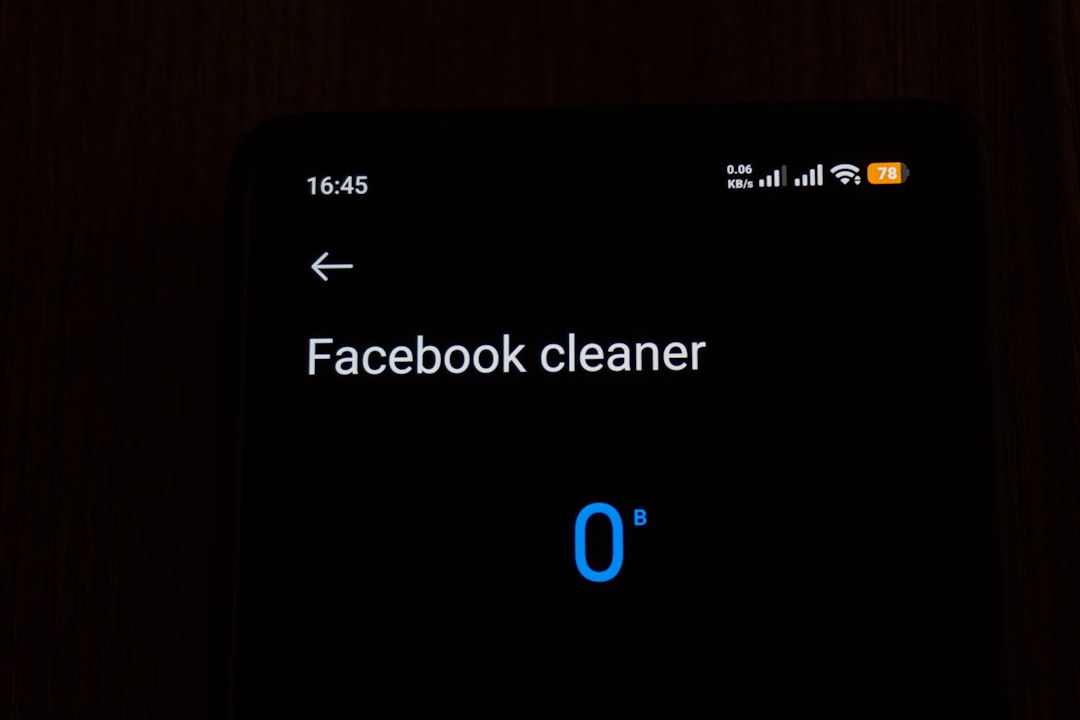
- Choose Storage & Cache.
- Tap Clear Cache.
This method will not delete your login info or preferences. It’s safe and fast!
For iPhone (iOS) Users
On iOS, app cache isn’t as directly accessible as on Android. You have two main options:
Option 1: Offload the App
- Go to Settings > General > iPhone Storage.
- Find and tap Facebook.
- Choose Offload App. This removes the app but keeps its documents/data.
- Reinstall Facebook from the App Store.
Option 2: Delete and Reinstall
This method clears everything—perfect for a fresh start.
- Tap and hold the Facebook icon on your home screen.
- Select Remove App then Delete App.
- Go to the App Store and reinstall Facebook.
Clearing In-App Cache (Limited)
Some older versions or beta versions of Facebook provide an option to clear the cache directly within the app under Settings > Browser Settings, but this is usually limited to clearing web cookies and temporary web data used within the Facebook browser.
How to Clear Facebook Cache on Desktop
On a desktop, Facebook cache is primarily tied to your web browser. Here’s how to clear it in popular browsers like Chrome, Firefox, Safari, and Edge.
For Google Chrome
- Click the three-dot menu at the top right of the browser.
- Go to Settings > Privacy and Security.
- Click Clear browsing data.
- Select Cached images and files. You may also select cookies if needed.
- Choose a time range (e.g., Last 7 days or All time).
- Click Clear Data.
For Mozilla Firefox
- Click the hamburger menu (three lines) at the top right.
- Choose Settings.
- Select Privacy & Security.
- Under the Cookies and Site Data section, click Clear Data.
For Safari (Mac)
- Go to Safari in the top menu bar and click Preferences.
- Navigate to the Privacy tab.
- Click Manage Website Data.
- Search for “Facebook” and select it.
- Click Remove.
For Microsoft Edge
- Click the three-dot menu in the upper right.
- Select Settings > Privacy, search, and services.
- Under Clear browsing data, click Choose what to clear.
- Select Cached images and files and hit Clear.
Additional Recommendations
While clearing the Facebook cache is often a quick fix, consider these additional tips for optimal performance:
- Update the App or Browser: Outdated software can create conflicts with cached files. Always make sure you’re using the latest version.
- Regular Maintenance: Make it a habit to clear cache every few months, especially if you’re a heavy Facebook user.
- Reboot After Clearing: After clearing your cache, restart your device to ensure all changes are applied effectively.
Common Myths About Clearing Cache
Some users hesitate to clear cache due to widespread misconceptions. Let’s bust a few:
- Myth: Clearing cache logs you out permanently.
Truth: While this may happen in rare cases, most devices retain login sessions after cache-clearing. Just in case, it’s wise to remember your password. - Myth: It deletes personal information or photos.
Truth: Clearing cache does not affect your Facebook posts, images, or messages. - Myth: Cache clearing damages the app.
Truth: Completely false. In fact, it’s a recommended maintenance step!
When Should You Clear Facebook Cache?
Consider clearing Facebook’s cache if:
- The app or site is unusually slow
- You see outdated content or old profile pictures
- You’re experiencing login or display errors
- Your phone or browser is running low on space
Final Thoughts
Clearing Facebook’s cache is a bit like giving the app or website a “soft reset.” It’s one of the simplest yet most effective ways to fix common performance issues and refresh your user experience. Whether you’re a casual user or a social media manager, this small maintenance step can go a long way.
Remember to perform this process every few months or whenever Facebook starts acting up. You’ll likely enjoy a smoother, faster, and more responsive interface as a result.