Reading a ruler can feel confusing at first. So many tiny lines. So many numbers. But once you understand the pattern, it becomes simple and even fun. Measuring is a life skill. You use it for school projects, home repairs, crafts, cooking, and more. Let’s break it down step by step and help you read a ruler with total confidence.
TLDR: A ruler is easier to read than it looks. Each line has a purpose, and the trick is learning what the lines mean. Inches are divided into smaller parts called fractions, and metric rulers use millimeters and centimeters. With a little practice, you can measure anything quickly and accurately.
Table of Contents
Why Measurement Skills Matter
Measurement is everywhere. You measure wood before cutting. You measure fabric before sewing. You measure space before buying furniture. Even baking needs careful measuring.
When you learn to read a ruler:
- You avoid costly mistakes.
- You work faster.
- You build confidence.
- You improve your math skills.
It is a small skill with big rewards.
Meet the Ruler
A standard ruler is usually 12 inches long. That equals one foot. Some rulers show inches only. Others show both inches and metric units.

If you look closely, you will see:
- Big numbered lines
- Medium lines
- Small lines
- Tiny lines
Each line represents a fraction of an inch. Let’s make sense of them.
Understanding Inches and Fractions
The longest lines with numbers are inches. Easy enough.
Between each inch, you’ll see smaller lines. These break the inch into equal pieces.
Here is the pattern most rulers follow:
- Longest line: 1 inch
- Second longest: 1/2 inch
- Medium lines: 1/4 inch
- Shorter lines: 1/8 inch
- Shortest lines: 1/16 inch
Think of it like slicing a pizza.
One whole pizza is 1 inch.
Cut it in half? Each piece is 1/2.
Cut each half again? Now you have 1/4 slices.
Keep cutting and the pieces get smaller.
The smaller the fraction, the smaller the line.
How to Count the Lines
Here is a simple trick.
Between 0 and 1 inch, count the smallest lines. You will usually find 16 tiny sections. That means the ruler measures down to 1/16 of an inch.
If your object ends at the fourth tiny line after zero, that means 4/16.
Now simplify.
4/16 becomes 1/4.
So you measured 1/4 inch.
See? It is just counting and simplifying.
Step-by-Step: Measuring an Object
Let’s measure a pencil.
- Place the pencil at the zero mark.
- Make sure it is straight.
- Look at where the tip ends.
- Find the closest line.
- Read the inch number first.
- Add the fraction.
If the pencil ends between 6 and 7 inches at the medium 1/4 mark, the length is 6 1/4 inches.
Always say the whole number first. Then the fraction.
Common Mistakes to Avoid
Many beginners make small errors. That is normal.
- Starting at the edge instead of zero. Some rulers have a gap before zero. Always start at the zero line.
- Tilting the ruler. Keep it flat and straight.
- Guessing fractions. Count the lines carefully.
- Not simplifying fractions. 8/16 is really 1/2.
Slow down. Double-check your reading. Accuracy matters.
What About Metric Rulers?
Metric rulers are often easier to read.
They use:
- Millimeters (mm)
- Centimeters (cm)
There are 10 millimeters in 1 centimeter. That is it. No fractions needed.
Each small line equals 1 millimeter.
Each numbered section equals 1 centimeter.
If something measures 7 small lines past the 3 cm mark, it is 3.7 cm or 37 mm.
Simple counting. No dividing. No simplifying.
Quick Comparison: Inches vs Metric
| Feature | Inch Ruler | Metric Ruler |
|---|---|---|
| Main Units | Inches | Centimeters |
| Smallest Common Unit | 1/16 inch | 1 millimeter |
| Number System | Fractions | Decimals |
| Ease for Beginners | Medium | Easy |
| Common Uses | United States construction, crafts | Science, global standard |
Both systems work well. You just need practice with each.
Different Types of Rulers
Not all rulers look the same. Some are flexible. Some are digital. Here are common types:
- Standard wooden or plastic ruler
- Metal ruler
- Yardstick
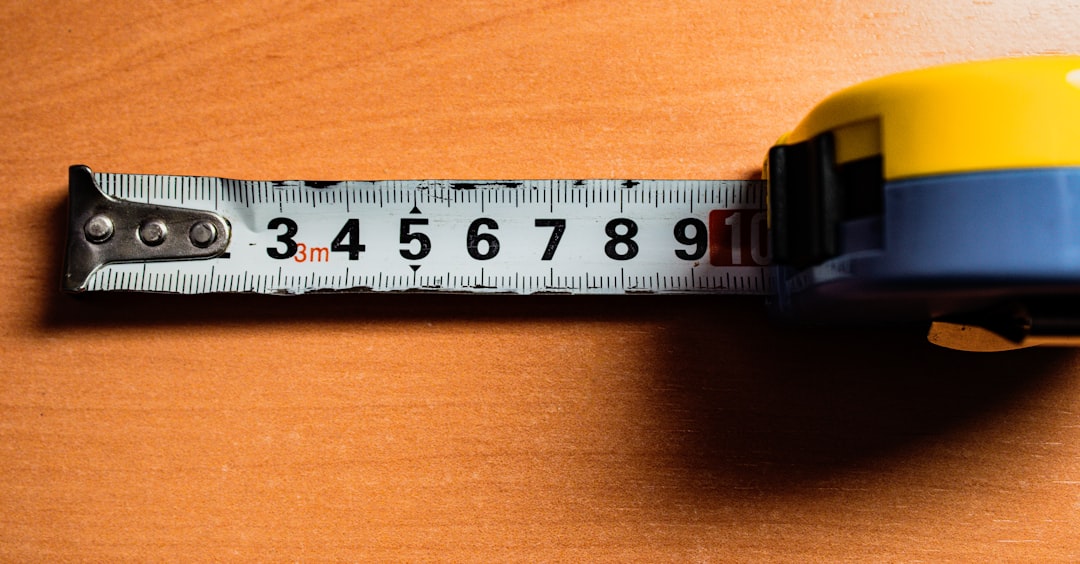
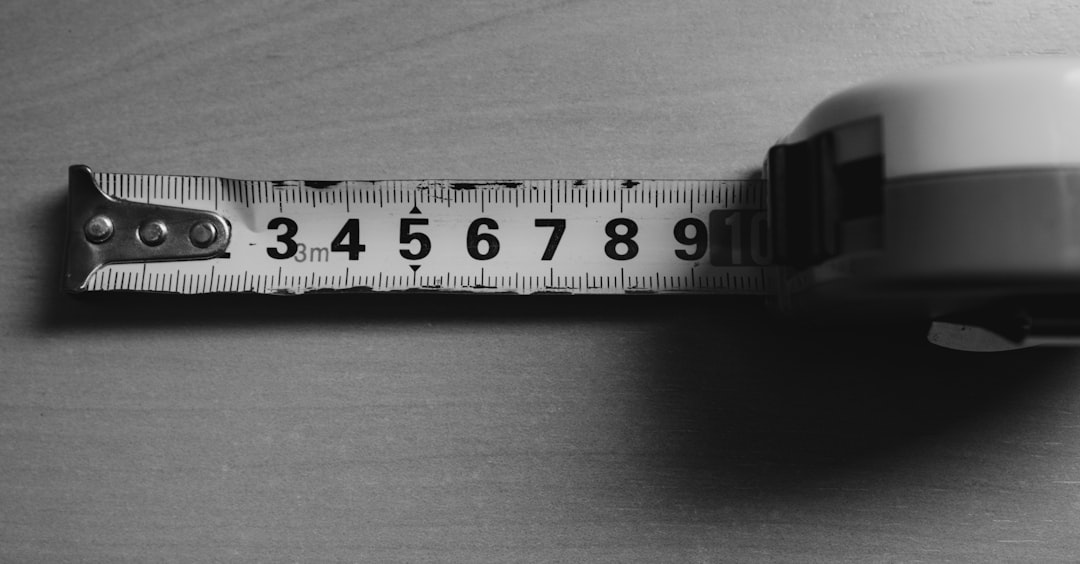
- Measuring tape
- Digital caliper
Tool Comparison Chart
| Tool | Best For | Pros | Cons |
|---|---|---|---|
| Standard Ruler | School and small projects | Simple, cheap, portable | Limited length |
| Metal Ruler | Cutting and crafts | Durable, straight edge | Heavier |
| Yardstick | Large surfaces | Long reach | Not pocket sized |
| Measuring Tape | Construction | Flexible, long distance | Can bend or snap back |
| Digital Caliper | Precision work | Extremely accurate | More expensive |
Choose the right tool for the job. A small ruler cannot measure a room. A yardstick cannot measure tiny screws accurately.
Practice Makes Perfect
The best way to master measurement is practice.
Try this simple exercise:
- Grab five objects near you.
- Measure each one in inches.
- Write down the measurements.
- Measure again using metric.
- Compare results.
Repeat daily for a week. You will improve quickly.
Fun Memory Tricks
Need help remembering fractions?
Think:
- Half is the biggest fraction.
- Quarters split the half.
- Eighths split the quarters.
- Sixteenths split them all.
The more slices, the smaller the piece.
For metric, remember:
There are always 10 small lines per centimeter.
That is much easier than fractions.
Confidence Comes from Understanding
Do not rush the process.
At first, the ruler may look like a jungle of lines. But now you know the secret. Each line has a clear purpose. Each size follows a pattern.
When you understand the pattern, the ruler stops being scary.
You start seeing order instead of confusion.
When Accuracy Really Counts
Some tasks require extreme precision.
- Building furniture
- Installing shelves
- Engineering parts
- Sewing fitted clothing
In these cases:
- Measure twice.
- Cut once.
- Use the correct tool.
- Read at eye level.
A tiny mistake can grow into a big problem later.
Final Thoughts
Reading a ruler is not magic. It is pattern recognition.
Start with the inches. Learn the fractions. Practice counting the lines. Try metric for simplicity. Experiment with different tools.
Soon you will measure without hesitation.
You will glance at a ruler and instantly know the length.
That is confidence.
And once you master this small skill, you will notice something surprising.
You will start seeing measurements everywhere.
And you will understand them.
That is the power of mastering measurement skills.