Taking a screenshot on a Lenovo ThinkPad is easy. Yet many people only use one method. And they miss out on faster or smarter options. Whether you want to capture the whole screen, just one window, or a tiny section, your ThinkPad has you covered.
TLDR: You can take screenshots on a Lenovo ThinkPad using the Print Screen key, Snipping Tool, Snip & Sketch, keyboard shortcuts like Windows + Shift + S, or third-party tools. Some methods save automatically. Others let you edit before saving. Choose the one that matches your workflow and how much control you need.
Table of Contents
Why Take Screenshots?
Screenshots are useful. Very useful.
- Save important information.
- Share error messages with tech support.
- Capture online receipts.
- Create guides or tutorials.
- Save social media posts.
Now let’s break down all the ways you can take screenshots on your ThinkPad.
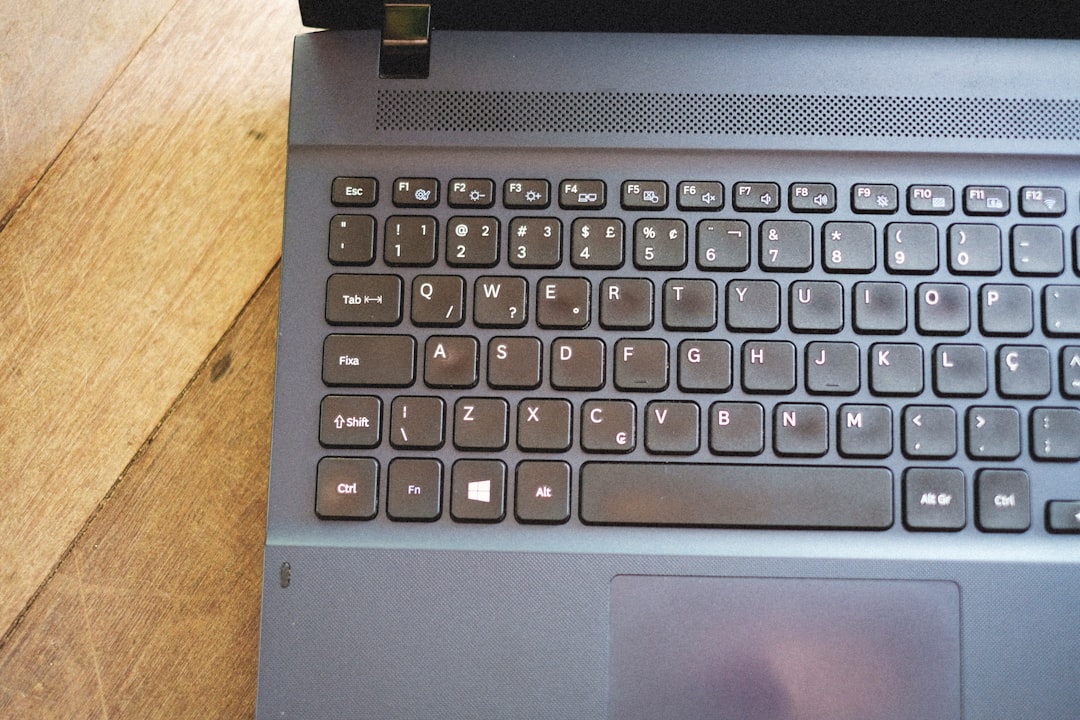
1. The Classic: Print Screen (PrtSc) Key
This is the oldest trick in the book. And it still works great.
Look at the top row of your keyboard. You’ll see a key labeled PrtSc, Print Screen, or something similar.
Option A: Capture the Entire Screen
Press: PrtSc
What happens?
- Your whole screen is copied.
- It is saved to your clipboard.
- You need to paste it somewhere.
Open Paint, Word, or even an email. Then press Ctrl + V. Save the file. Done.
Option B: Automatically Save Full Screen
Press: Windows Key + PrtSc
Your screen will dim for a second. That means it worked.
Find your screenshot here:
- This PC
- Pictures
- Screenshots folder
No pasting required. Super simple.
Option C: Capture Only the Active Window
Press: Alt + PrtSc
This captures only the window you are using. Not the entire desktop.
Again, paste it with Ctrl + V into an app.
Perfect for emails or focused screenshots.
2. The Modern Way: Windows + Shift + S
This is faster. And more flexible.
Press: Windows + Shift + S
Your screen will fade slightly. A small toolbar appears at the top.
You will see several options:
- Rectangular Snip – Drag to select a rectangle.
- Freeform Snip – Draw any shape.
- Window Snip – Click one window.
- Full-screen Snip – Capture everything.
After selecting, the image goes to your clipboard.
You will also see a notification. Click it to open and edit in Snip & Sketch.
This method is great for quick sharing.
3. Snipping Tool (Built-In App)
The Snipping Tool has been around for years. Windows 11 combines it with Snip & Sketch. But the name still exists.
To open it:
- Click the Start menu.
- Type Snipping Tool.
- Press Enter.
How It Works
Click New. Then choose your snip type. It’s similar to the shortcut method. But with more control.
After capturing, you can:
- Highlight areas.
- Draw with a pen tool.
- Crop again.
- Save directly.
This is ideal for:
- Tutorial creators.
- Students.
- Office tasks.
Tip: You can set a delay timer. Capture dropdown menus easily.
4. Using the ThinkPad Function Key (Fn)
Some ThinkPads require the Fn key.
If your PrtSc doesn’t work alone, try:
Fn + PrtSc
This depends on your keyboard settings.
You can change this behavior in BIOS or Lenovo Vantage settings. But most users don’t need to.
5. Using the Game Bar
Yes. Even if you are not gaming.
Press: Windows + G
The Xbox Game Bar appears.
Click the camera icon to capture your screen.
Your screenshot saves automatically in:
- Videos
- Captures folder
This is helpful for:
- Capturing apps.
- Recording screens.
- Quick access during presentations.
6. Third-Party Screenshot Tools
Sometimes built-in tools are not enough.
Here are popular third-party tools:
- Lightshot
- Greenshot
- ShareX
These tools offer:
- Instant editing.
- Cloud uploads.
- Custom shortcuts.
- Annotations.
- GIF recording.
Great for professionals.
Comparison Chart: Screenshot Methods on Lenovo ThinkPad
| Method | Shortcut | Auto Save | Edit Before Saving | Best For |
|---|---|---|---|---|
| Print Screen | PrtSc | No | No | Quick full screen copy |
| Windows + PrtSc | Win + PrtSc | Yes | No | Instant full screen save |
| Active Window | Alt + PrtSc | No | No | Single app capture |
| Snip Shortcut | Win + Shift + S | No | Yes | Flexible selections |
| Snipping Tool | Open app | Yes | Yes | Detailed editing |
| Game Bar | Win + G | Yes | Basic | Apps and recording |
| Third-party Tools | Custom | Yes | Advanced | Professional workflow |
Where Do Screenshots Go?
It depends on the method.
- Windows + PrtSc: Pictures → Screenshots
- Game Bar: Videos → Captures
- Clipboard methods: Not saved until pasted
- Snipping Tool: Choose location manually
If you cannot find a screenshot, check your clipboard history.
Press: Windows + V
You may see it there.
Pro Tips for ThinkPad Users
Want to work faster? Try these tips.
- Pin Snipping Tool to your taskbar.
- Use Windows + Shift + S daily. It’s the fastest flexible method.
- Rename files immediately after saving.
- Create folders for projects.
- Use cloud sync like OneDrive for backup.
Also, update your Windows system. Some screenshot bugs are fixed in updates.
Common Problems (And Fixes)
Print Screen Not Working?
- Try Fn + PrtSc.
- Restart your laptop.
- Check keyboard settings.
Screenshot Too Dark?
- Turn off Night Light.
- Adjust display brightness.
Clipboard Not Saving?
- Enable clipboard history.
- Make sure no third-party tool is blocking it.
Which Method Should You Use?
Let’s make it simple.
- Need speed? → Windows + PrtSc
- Need precision? → Windows + Shift + S
- Need editing tools? → Snipping Tool
- Need pro features? → ShareX or Greenshot
- Just one window? → Alt + PrtSc
Most people love Windows + Shift + S. It is quick and flexible.
Final Thoughts
Your Lenovo ThinkPad is powerful. And screenshots are just one small feature. But they matter.
Once you learn these shortcuts, you will save time every day. No more fumbling. No more searching online.
Start with one method. Practice it. Then try another.
Soon, taking screenshots will feel automatic. Like second nature.
Now go ahead. Press those keys. Capture your screen like a pro.