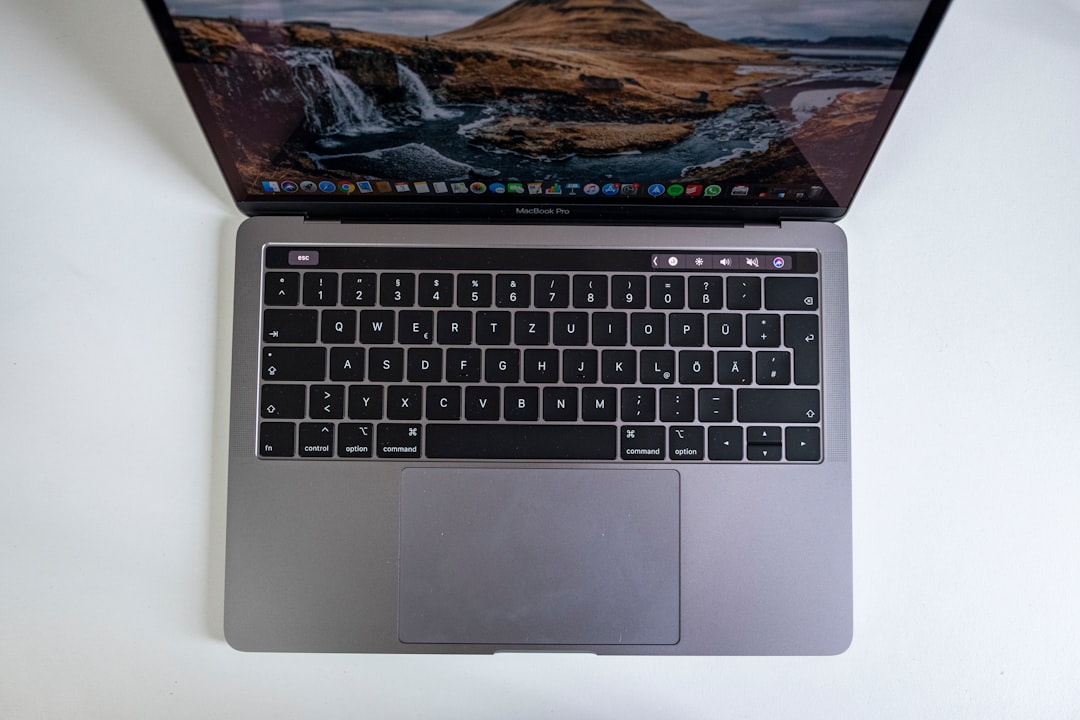
Even the cleanest desks can’t protect your Mac keyboard from crumbs. Whether it’s toast at breakfast, a cookie during a late-night study session, or tiny bits of debris from your bag, particles inevitably find their way beneath the keys. While a few crumbs might seem harmless, they can interfere with key travel, cause sticky feedback, and in some cases even damage internal components. Cleaning your Mac keyboard safely requires more than just turning it upside down and shaking it.
TLDR: Cleaning crumbs out of a Mac keyboard requires gentle tools, patience, and the right technique. Power down your device, use compressed air and soft brushes instead of sharp objects, and avoid introducing moisture unless absolutely necessary. For stubborn debris, remove keycaps only if your model allows it safely. Regular maintenance prevents long-term damage and keeps your keyboard feeling like new.
In this guide, you’ll learn safe, effective, and Apple-friendly methods for removing crumbs without harming delicate key mechanisms or internal electronics.
Table of Contents
Why Crumbs Are a Bigger Problem Than You Think
Modern Mac keyboards—especially the slim designs found on MacBooks and Apple’s Magic Keyboard—are engineered with precision. The key mechanisms have tight tolerances, meaning even tiny particles can interfere with movement.
Crumbs can:
- Block full key travel, making typing feel shallow or unresponsive
- Cause keys to stick or fail to register
- Create grinding sensations during typing
- Trap moisture, increasing corrosion risk over time
On older butterfly-style MacBook keyboards, even a single grain of dust could affect performance dramatically. While newer scissor-switch models are more resilient, they still benefit from careful cleaning.
Before You Start: Safety First
Before attempting any cleaning, take these essential precautions:
- Shut down your Mac completely. Do not just put it to sleep.
- Unplug all cables, including charging cables and accessories.
- If using a MacBook, disconnect external devices.
- Work in a clean, well-lit area.
Never clean a powered-on keyboard. Even a small amount of moisture or a dislodged conductive particle can cause electrical issues.
Step 1: The Simple Flip and Tap Method
It may sound obvious, but technique matters. Apple itself recommends a gentle approach when dislodging debris.
For MacBooks:
- Hold your laptop at a 75-degree angle (not fully upside down).
- Gently tap the bottom surface.
- Rotate slightly and repeat on the other side.
This controlled tapping allows gravity to assist without forcing particles deeper inside.
For external Magic Keyboards:
- Turn the keyboard upside down.
- Lightly tap across the back surface.
- Avoid shaking aggressively.
Aggressive shaking can damage internal key stabilizers.
Step 2: Use Compressed Air the Right Way
Compressed air is one of the safest and most effective tools for removing crumbs—if used properly.
How to use it correctly:
- Keep the nozzle about 1–2 inches away from the keys.
- Spray in short bursts, not long streams.
- Angle the airflow diagonally across the keyboard.
- Avoid spraying directly downward into a single key.
Move across the keyboard in a grid pattern to ensure thorough cleaning.
Important: Never shake the compressed air can while spraying, and keep it upright to prevent liquid propellant from escaping.
Image not found in postmetaStep 3: Brush Out Stubborn Debris
If crumbs remain lodged between keys, a soft brush can loosen them safely.
Good brush options include:
- Camera lens cleaning brushes
- Soft paintbrushes (unused and clean)
- Anti-static electronics brushes
Lightly sweep between keys using short, controlled strokes. Do not jam bristles underneath keycaps.
Cleaning Tools Comparison Chart
| Tool | Best For | Safety Level | Cost | Recommended? |
|---|---|---|---|---|
| Compressed Air | Loose crumbs and dust | Very High | Low | Yes – top choice |
| Soft Brush | Stuck particles between keys | High | Low | Yes |
| Keyboard Vacuum | Heavier debris | Medium | Medium | Only low suction models |
| Microfiber Cloth | Surface cleaning | Very High | Low | Yes |
| Toothpick or Metal Tool | Dislodging stuck crumbs | Low | Very Low | No – risk of damage |
Step 4: Vacuuming — Proceed With Caution
A small electronics vacuum can help, but only if it has low suction power. High suction can loosen keycaps or damage internal switches.
Best practices:
- Use a brush attachment.
- Hold the vacuum slightly above the keys.
- Never press directly against individual keys.
If you feel keys lifting slightly, stop immediately.
Should You Remove the Keycaps?
This is where many people make mistakes.
For most Mac users, removing keycaps is not recommended. Apple laptop key mechanisms are delicate and not designed for frequent removal.
However, external Magic Keyboards are somewhat safer to service—but only if you:
- Research your exact model first.
- Use a plastic pry tool (never metal).
- Apply gentle upward pressure at the correct corner.
If you’re unsure, it’s better to rely on compressed air and brushing instead of risking breakage.
What About Sticky Residue?
Sometimes crumbs aren’t the only issue—oily or sugary residue can create sticking.
For light cleaning:
- Dampen (not soak) a microfiber cloth with 70% isopropyl alcohol.
- Wipe the tops of keys gently.
- Allow to air dry completely before powering on.
Never pour liquid directly onto the keyboard.
Avoid:
- Household glass cleaners
- Bleach-based products
- High-percentage alcohol above 90% (can degrade coatings)
Common Mistakes to Avoid
Many well-meaning cleaning attempts do more harm than good. Avoid these pitfalls:
- Using a knife or paperclip to pry out crumbs
- Blowing with your mouth (introduces moisture)
- Spraying cleaning solution directly on keys
- Using a hairdryer (heat can warp components)
- Ignoring repeated key malfunction
If keys continue malfunctioning after cleaning, professional servicing may be necessary.
How Often Should You Clean Your Mac Keyboard?
Maintenance frequency depends on use habits:
- Daily snackers: Once every 1–2 weeks
- Office use only: Once per month
- Travel-heavy users: Every 2–3 weeks
Quick weekly compressed air sessions can prevent buildup and reduce the need for deeper cleaning.
Preventing Future Crumbs
Cleaning is important—but prevention is smarter.
Consider these habits:
- Avoid eating directly over your keyboard.
- Wash hands before typing.
- Use a keyboard cover (for external keyboards).
- Store your MacBook in a sleeve when not in use.
If you frequently work while eating, a separate external keyboard can act as a “crumb shield,” sparing your MacBook’s built-in keys.
When to Seek Professional Help
If you notice:
- Keys repeatedly double-typing
- No response from certain keys
- A grinding or crunching sound
- Visible internal debris you cannot remove
It may be time to contact Apple Support or visit an authorized service provider. Attempting aggressive DIY fixes can void warranties or worsen the issue.
Final Thoughts
Cleaning crumbs out of a Mac keyboard is less about force and more about finesse. With the right tools—compressed air, a soft brush, and a careful technique—you can remove debris safely without damaging delicate mechanisms. Avoid sharp tools, excess moisture, and unnecessary key removal.
A few minutes of gentle maintenance every couple of weeks will keep your Mac keyboard feeling crisp, responsive, and satisfying to type on. Because when your keyboard is clean, your workflow feels smoother—and that’s worth far more than the crumbs you cleaned out.