Canva has become an incredibly popular design tool among indie authors and self-publishers due to its intuitive interface, vast library of templates, and affordability. Whether you’re designing a cover for your next e-book or laying out the interior for print, Canva offers a powerful suite of tools that make book design more accessible than ever. However, despite its strengths, users often encounter design issues that can derail their publishing efforts or result in a product that doesn’t meet professional standards.
In this article, we’ll delve into the most common Canva book design issues and provide practical solutions for each, ensuring you end up with a polished, flawless final product.
Table of Contents
1. Incorrect Trim Size for Your Book
One of the most critical elements in book design is matching the trim size to your intended print specifications. Canva offers various sizes, but it’s easy for authors to choose the wrong trim size or use a custom size without considering bleed and margin requirements prescribed by print-on-demand platforms.
Issue: The final PDF doesn’t match the dimensions accepted by KDP, IngramSpark, or other print providers. Content or important elements might end up being cut off or misaligned.
Solution:
- Check the trim size requirements of your printer before starting your Canva design. Common sizes include 6” x 9”, 5.5” x 8.5”, and 8.5” x 11”.
- Use Canva’s “custom dimensions” feature to match the exact trim size, including bleed if necessary. Most platforms require a bleed of 0.125″ on all sides.
- For example, if you are designing a 6” x 9” book with bleed, your Canva artboard should be 6.125” x 9.25”.

2. Ignoring Bleed and Margins
If your book contains full-page images, illustrations, or colored backgrounds that need to extend to the edge of the page, then ignoring bleed can create unsightly white borders or uneven cutting.
Issue: Your final printed book has white edges, or content is too close to the edges, making the book look amateurish.
Solution:
- Always design with bleed in mind. Extend any background images or design elements 0.125” past the trim line.
- Keep all vital text or visual elements within the safe margin zone, at least 0.25″ inside from the edge of the trim line.
- Use Canva’s guides or create your own using lines to mark safe zones and bleeds if necessary.
3. Pixelated Images Due to Low Resolution
While Canva simplifies design, it doesn’t automatically warn you when images are too low in resolution, which could result in printed products that look fuzzy or unprofessional.
Issue: Images or illustrations in the book appear pixelated or blurry once printed.
Solution:
- Upload high-resolution images, ideally 300 DPI (dots per inch), especially for print materials.
- Before downloading your final design, double-check image quality by zooming in on your design at 100% or more to assess clarity.
- Avoid using free stock images that are too small or recompressing images repeatedly, which can degrade quality.
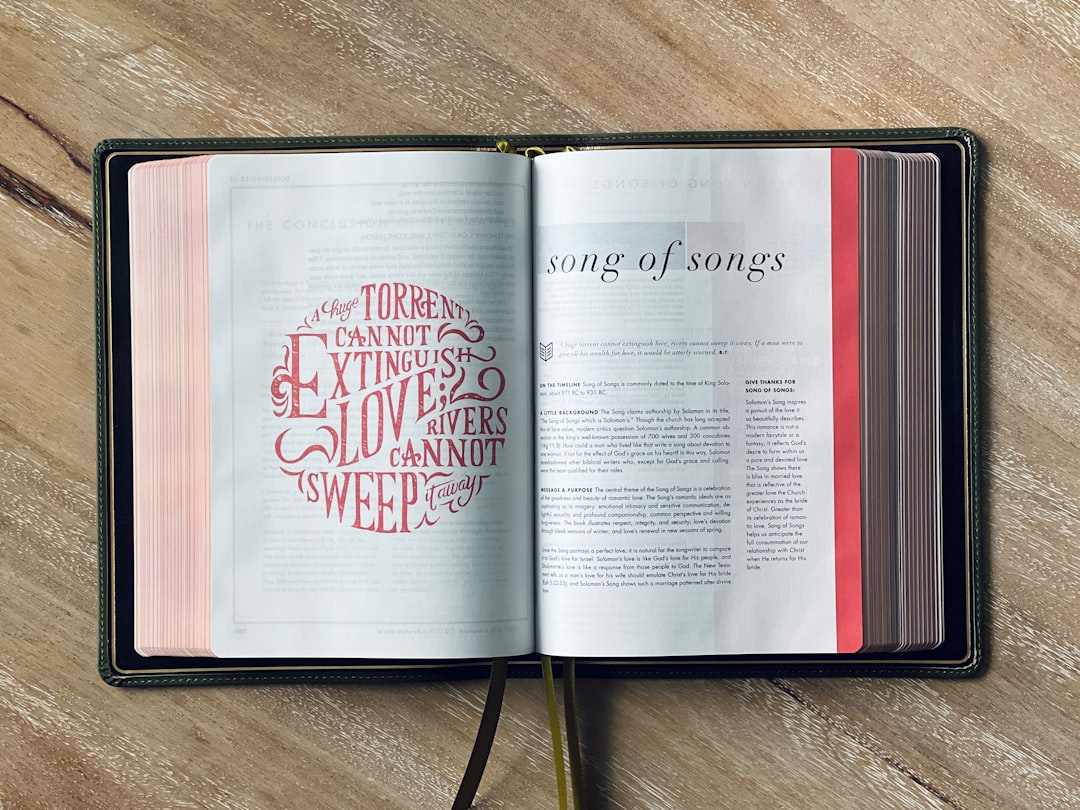
4. Inconsistent Fonts and Typography
Typography can make or break the visual appeal and readability of your book. Canva’s abundance of fonts may tempt you into using multiple styles, which can lead to inconsistent and jarring designs.
Issue: Overused or mixed font styles that clutter the design, reduce readability, and diminish professionalism.
Solution:
- Limit your design to 2-3 complementary fonts—typically one for headers, one for body text, and possibly a decorative font for accents.
- Use consistent size scales—for example, chapter titles at 24 pt, subheadings at 16 pt, and main text at 12 pt.
- Stick to classic, easy-to-read typefaces for body text, such as Roboto, Lora, or EB Garamond.

5. Page Numbering Problems
Unlike professional desktop publishing software, Canva doesn’t offer automatic page numbering, creating additional manual work and the potential for mistakes.
Issue: Missing, misaligned, or inconsistent page numbers across the book’s interior pages.
Solution:
- Manually add page numbers by inserting a text box at the same position on each page. Use guides to maintain consistent placement.
- Group your page number element with the footer content to avoid repositioning every time you make layout edits.
- Double-check the continuity and styling of page numbers before downloading your final file.
6. Color Mode Confusion
Canva designs are created in RGB color mode, intended for screens, but printed books require CMYK color space for accurate color reproduction.
Issue: The printed colors appear duller or markedly different than expected when viewed on a screen.
Solution:
- Use colors that are more muted in Canva to better approximate how they’ll appear in CMYK printing.
- If color accuracy is essential, consider exporting your design from Canva and converting it to CMYK using software like Adobe Acrobat, Photoshop, or an online converter.
- Order a printed proof before placing large orders to evaluate color fidelity.
7. Not Designing the Spine Correctly
Creating the spine for a paperback or hardcover can be tricky, especially when factoring in page count, trim size, and paper stock. Canva doesn’t provide an automatic spine template, which can lead to sizing errors.
Issue: The spine is misaligned or off-center, with text bleeding into covers or wrapped improperly.
Solution:
- Use a spine calculator (available from most print-on-demand services like KDP) to determine the exact spine width based on your page count and paper type.
- Create a custom Canva size that includes the front cover, spine, and back cover in one full wraparound layout. For example, if your front and back covers are 6” x 9” each and the spine is 0.5”, your canvas should be 12.5” x 9”
- Use rulers or guides to mark the exact center where the spine text should be placed. Center all text precisely both vertically and horizontally within this measurement.

8. Exporting with the Wrong PDF Settings
Once your design is complete, exporting it with the correct settings can be the difference between print-ready perfection and costly reprints.
Issue: PDF export lacks bleed, proper file size, or quality for professional printing.
Solution:
- Select “PDF Print” in Canva when exporting your file to ensure the highest quality resolution.
- Enable the “Crop marks and bleed” checkbox before downloading if your printer requires bleed.
- Review the PDF using a tool like Adobe Acrobat Reader to inspect for alignment, resolution, and overall layout clarity.
Final Thoughts
Despite its ease of use, Canva has a few quirks that can interfere with creating a truly professional-looking book when not properly accounted for. However, with a few precautions and an understanding of industry standards, you can absolutely achieve a polished, print-ready result using this accessible tool.
Remember, the key to a flawless final product lies in attention to detail, consistency, and an understanding of print specifications. By fixing these common issues early in the design process, you’ll save time, reduce stress, and elevate the professionalism of your book—making readers far more likely to engage and buy.


