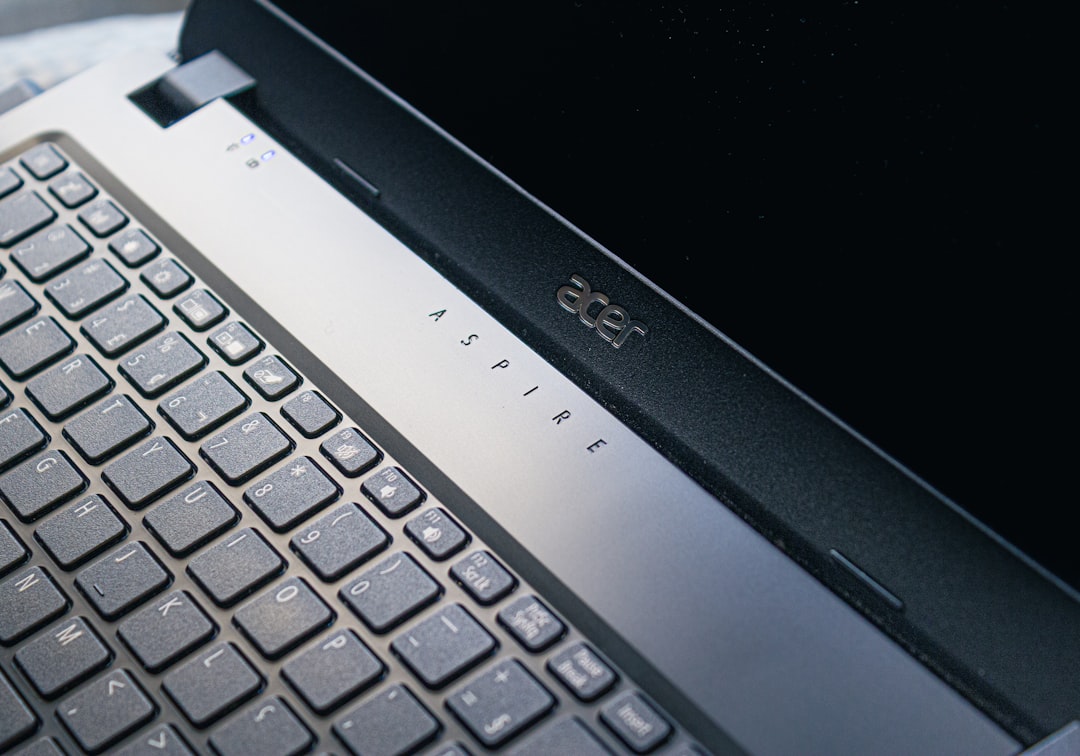
So, you have an old Acer Chromebook C720 sitting around. It still works. It still looks good. But ChromeOS feels limited. You want the full Windows 10 experience. Good news. You can actually install Windows 10 on it. It takes some patience. And a bit of courage. But it is totally doable.
TLDR: You can install Windows 10 on an Acer Chromebook C720 by replacing ChromeOS with custom firmware and then installing Windows from a USB drive. You will need to enable Developer Mode, remove write protection, flash new firmware, and create a bootable Windows USB. Some drivers must be installed manually after setup. Follow the steps carefully, and your Chromebook will run full Windows 10.
Table of Contents
Before You Start
First, let’s be honest. This process will:
- Erase your Chromebook completely
- Void any remaining warranty
- Require opening the laptop
If that sounds scary, take a deep breath. The Acer C720 is actually one of the best Chromebooks for Windows installs. It has:
- Intel processor
- Upgradeable SSD (in some models)
- Good driver support
That makes things much easier.
What You’ll Need
- Acer Chromebook C720
- 8GB or larger USB drive
- Small screwdriver
- Another PC (to create Windows USB)
- Windows 10 ISO file
- Patience
You will also need a tool to create a bootable USB.
Best USB Creation Tools
| Tool | Difficulty | Best For |
|---|---|---|
| Rufus | Easy | Fast and reliable Windows USB creation |
| Microsoft Media Creation Tool | Very Easy | Official and beginner friendly |
| Ventoy | Medium | Multiple ISO files on one USB |
If you are new to this, choose Rufus or the Media Creation Tool. Simple is good.
Step 1: Enable Developer Mode
This is where the magic begins.
1. Turn off your Chromebook.
2. Hold Esc + Refresh.
3. Tap the Power button.
You will see a recovery screen.
Now press Ctrl + D.
Confirm when asked. The system will reboot and enter Developer Mode.
This takes about 10–15 minutes. Your Chromebook will wipe itself. That is normal. Do not panic.
Each time you boot after this, you will see a warning screen. That is expected.

Step 2: Remove the Write Protection Screw
This step requires opening the laptop.
Flip the Chromebook upside down. Remove all screws on the back panel.
Carefully lift the cover.
Now look for the write protect screw. On the C720, it is usually a silver screw different from the rest.
- Remove that screw.
- Keep it safe.
This screw prevents firmware changes. Without removing it, you cannot install Windows properly.
Once removed, close the back cover. Screw everything back in.
Step 3: Install Custom Firmware
Now we replace the Chromebook firmware with a BIOS that supports Windows.
Boot into Developer Mode.
At the warning screen, press Ctrl + D.
Once logged in, press:
Ctrl + Alt + T
This opens the Crosh terminal.
Type:
shell
Press Enter.
Now run the firmware installation script. (Search online for the MrChromebox firmware utility script for latest command.)
Follow the menu:
- Select Full ROM firmware
- Install UEFI firmware
This converts your Chromebook into something that behaves like a regular PC.
When finished, shut down the device.
Step 4: Create a Bootable Windows 10 USB
Now switch to your second computer.
Download:
- Windows 10 ISO from Microsoft
- Rufus (if using it)
Insert your USB drive.
Open Rufus. Select:
- Your USB device
- Windows 10 ISO
- Partition scheme: GPT
- Target system: UEFI
Click Start.
Wait until finished.
Your Windows installer USB is ready.
Step 5: Install Windows 10
Insert the USB into your Chromebook.
Turn it on.
If firmware was installed correctly, it should boot into a BIOS-style menu.
Select your USB drive.
The Windows installer will appear.
Now:
- Select language
- Click Install
- Choose Custom installation
You will see the internal SSD.
Delete all existing partitions.
Select the unallocated space.
Click Next.
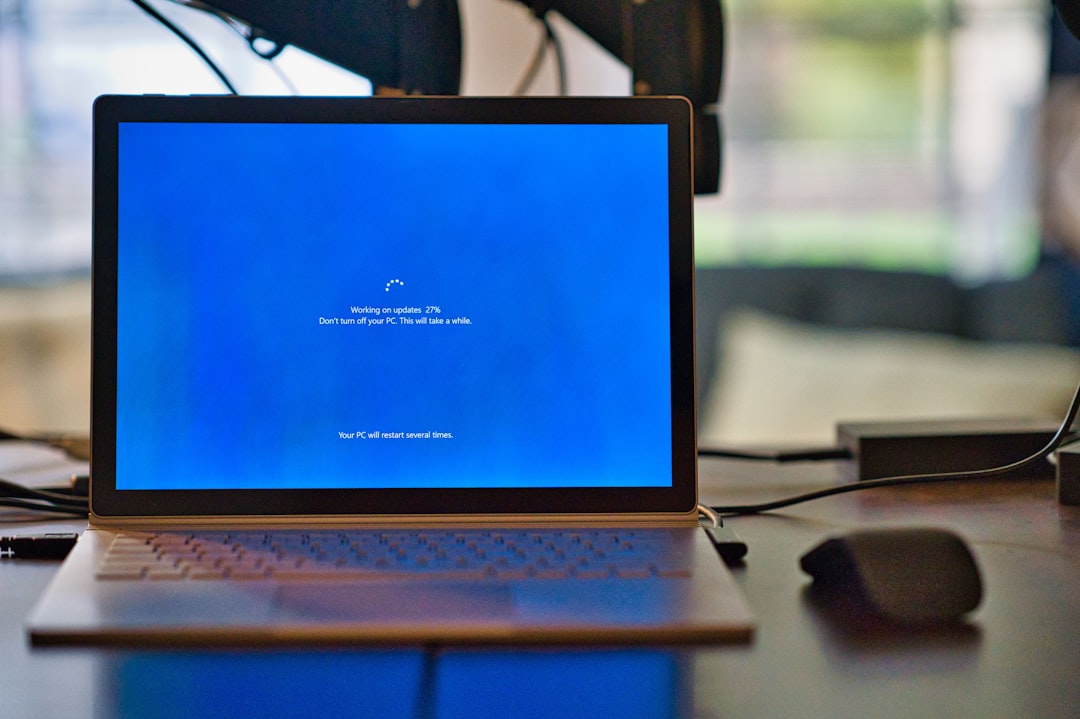
Installation will begin.
This may take 20–40 minutes.
Your Chromebook will reboot several times. That is normal.
Step 6: Install Drivers
This is the part most people forget.
Without drivers, things may not work properly.
You might see:
- No sound
- No trackpad gestures
- Missing WiFi
Do not worry.
Search online for “Acer C720 Windows 10 drivers.” Many communities provide driver packs.
Install drivers one by one:
- Chipset driver
- Intel HD Graphics
- Audio driver
- Trackpad driver
- Wireless driver
Restart when asked.
After this, everything should work smoothly.
Optional: Upgrade the SSD
The base C720 often comes with 16GB SSD. That fills up fast with Windows.
Good news. The SSD is replaceable.
It uses an M.2 SATA drive (not NVMe).
You can upgrade to:
- 64GB
- 128GB
- 256GB
This makes a huge difference. Windows updates alone can eat space quickly.
Performance Expectations
Let’s keep things realistic.
The Acer C720 is not a gaming monster.
But it can handle:
- Web browsing
- Microsoft Office
- YouTube
- Light photo editing
- Older games
It feels like a small budget Windows laptop. Which is exactly what it becomes.
If performance feels slow:
- Disable startup programs
- Use Windows 10 Home version
- Upgrade RAM (if your model supports it)
Troubleshooting Tips
It does not boot from USB?
- Check UEFI firmware installed correctly
- Re-create USB using GPT partition
No WiFi?
- Install wireless driver manually using USB
Touchpad acting strange?
- Install proper ELAN or Synaptics driver
Almost every issue has already been solved by someone online. A quick search usually helps.
Is It Worth It?
Honestly? Yes. If you enjoy tinkering.
The Acer C720 is one of the few Chromebooks that turns into a surprisingly usable Windows machine.
You get:
- A lightweight laptop
- Solid keyboard
- Long battery life
And now it runs full Windows apps.
It feels like giving old hardware a second life. That is always satisfying.
Final Thoughts
Installing Windows 10 on an Acer Chromebook C720 is not hard. But it requires careful steps.
Enable Developer Mode. Remove write protection. Install custom firmware. Create bootable USB. Install Windows. Add drivers.
That is the formula.
Take your time. Read twice before clicking. Keep backups.
In the end, you will turn a simple Chromebook into a full Windows laptop. And you did it yourself.
That feels pretty awesome.