
Custom fields are a feature in WordPress that allows users to add new information to their posts and pages. They can create new fields and name them whatever they want.
On the post template of WordPress, you can find elements like post title, format, categories, featured images, tags, etc. WordPress has already provided these elements.
However, depending on the topic of your site, sometimes those fields are not enough. In that case, you can use custom fields.
There are two ways you can create and use custom fields:
- Adding them to WordPress post through options
- With the help of a plugin
In the following text, you can read more about the mentioned ways.
Table of Contents
How to create customs fields through WordPress options
The custom fields option is hidden on the Post/Page screen. The custom fields are not activated automatically in WordPress. There are some steps you need to take when you want to use them.
First of all, you are going to open your post. If you already have a created post or page, you can choose the option to edit it. Click on the three-dot icon on the WordPress editor and select “Options” from the dropdown menu.
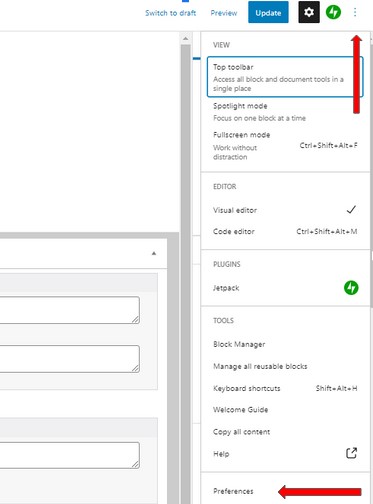
Then, click on the “Panels” below the additional options, and turn on custom fields. After that, your editor will reload, and you will see the custom fields on the bottom work area.
With custom fields, you can add any information related to any content type. When you finish with adding custom fields, the next step is editing your theme.
For this, you need to be familiar with some basic knowledge of the PHP program language. But don’t be worried if you have never worked with it.
There are a lot of tutorials and walk-throughs on how to change theme files. In the following text, you can read more about the process of changing PHP files in the WordPress theme and adding new lines of code.
How to display custom fields in a WordPress theme
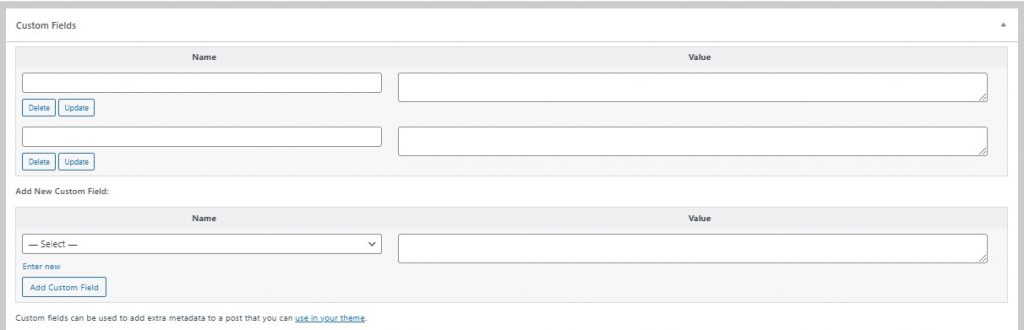
First, you need to open your post/page, where you want to add your custom field and choose the custom fields meta box. Now, you need to provide a name for your custom fields. It can be named however you want.
After that, it’s time to change the PHP file in your WordPress theme. Go to Appearance in your dashboard ->Theme editor and choose single.php or content-single.php file
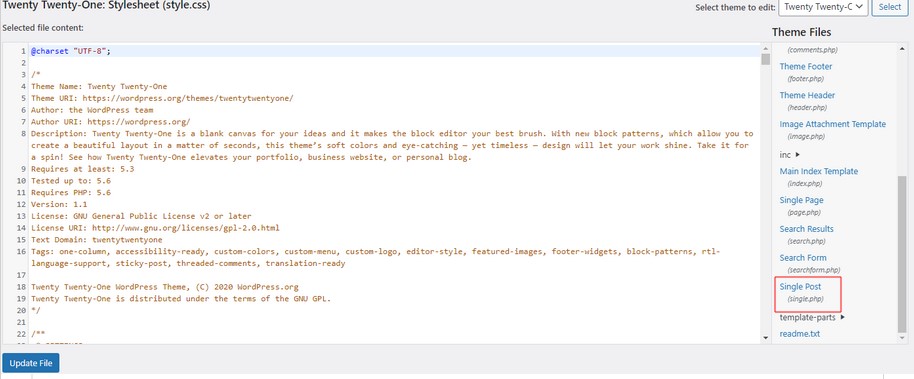
Select the highlighted file and modify it. Open the file of your WordPress site. Edit with a code editor and modify it.
Now you need to enter your custom field’s code in the chosen files. Pay attention to where you will put the following code:
echo get_post_meta($post->ID, ‘name’, true);
Make sure that the code you added is above this line:
endwhile; // End of the loop.
Don’t forget to change the ‘key.’ The value of it needs to be the same as the value of your custom field. Pay attention to capital letters. Your custom field name and key have to be completely the same. Otherwise, it will not work.
When you save your changes, go to preview the post. If you have done everything right, you and users of your site will see the value of the custom field displayed on the post.
How to create customs fields using WordPress plugins
There is one more way to add custom fields. The following text will be talking about two plugins and their use for creating custom fields.
Adding custom fields using Meta Box
Meta Box is one of the best plugins for creating and configuring custom fields for your WordPress website.
Meta Box gives you two options when creating a custom field. You can code it yourself or use Meta Box Online Generator, which enables you to make one with just a few clicks. You can even buy the extension Meta Box Builder, which will provide a UI to create custom fields in the backend.
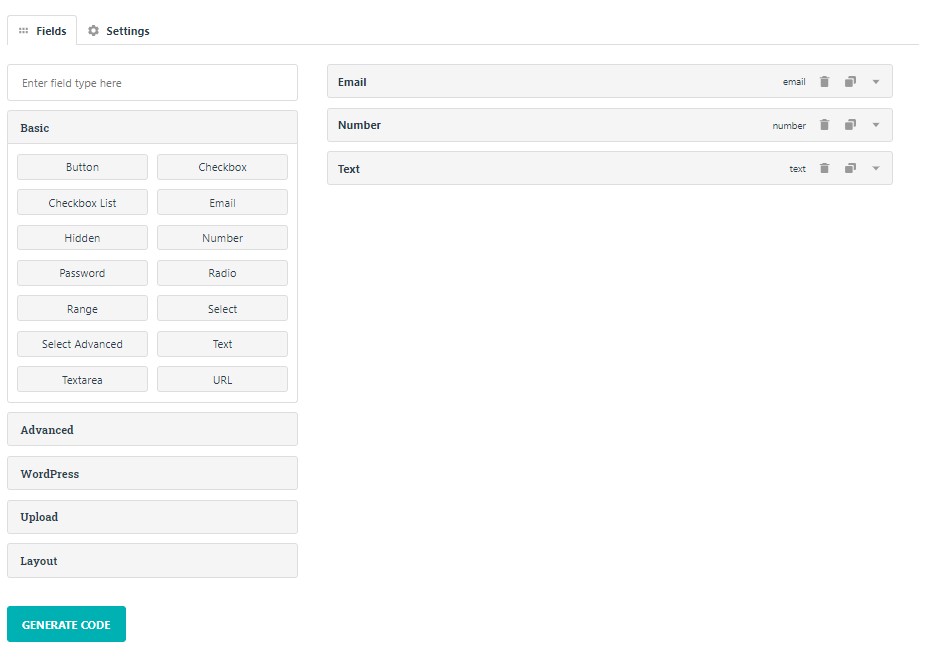
If you are using the Meta Box Online Generator, in “area 1”, find the type of custom field you want to create. The corresponding field will appear in “area 2”, where you can edit its information. After that, you can click “Generate code” in the bottom left.
The next step is to add the copy and paste the generated code into the functions.php file in your theme directory. When you click on “Edit Post,” the custom field will appear.

The only thing remaining is displaying them on your posts. To do this, find the file name single.php and add your code:
$value1 = rwmb_meta( ’email_a5ebwh0pj0a’ );
$value2 = rwmb_meta( ‘number_gqf1qcltz3q’ );
$value3 = rwmb_meta( ‘text_qf8cy3l2zy’ );
echo $value1;
echo “</br>”;
echo $value2;
echo “</br>”;
echo $value3;
You can add the ID of every field, which will be visible in the generated code that you’ve pasted into the function.php file.
Adding custom fields using Advanced Custom Fields
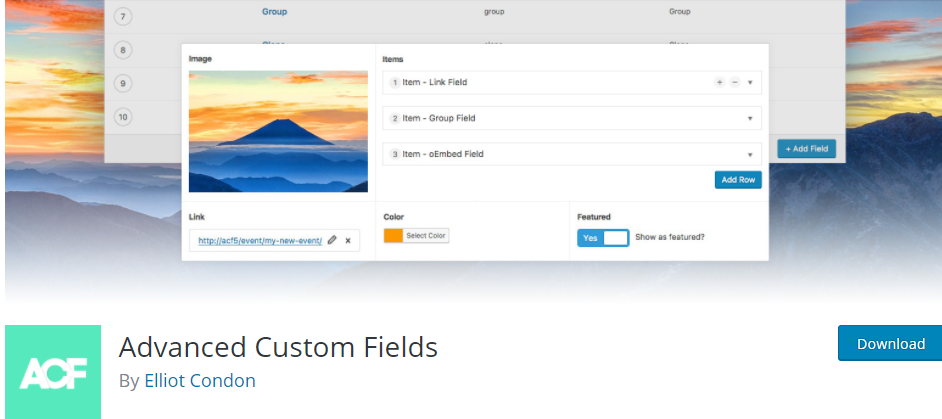
When you activate Advanced Custom Fields, you can see the plugin in your dashboard. To create your custom field, you will choose to “Add new” from the dropdown menu in the plugin. Don’t forget to give a title to your custom fields.

After that, it’s time to choose where you want to display the custom field. Once you are satisfied with your decision, you can publish it.

Now, you can go to one of your posts and edit it to alter how you will display the custom field on your site. Open your theme and find file single-post.php or single.php. You need to add the following code:
$writer = get_post_meta($post->ID, ‘writer’, false);
if( count( $writer ) != 0 ) { ?>
<p>Writer’s of the movie:</p>
<ul>
<?php foreach($writer as $writer) {
echo ‘<li>’.$writer.'</li>’;
}
?>
</ul>
<?php
} else {
// do nothing;
}
It may look complex, but once you get in the hang of it, you will create your custom fields in just a few clicks.
Conclusion
Adding custom fields to your WordPress websites can be very helpful, especially if you are making an online store. The addition of custom fields can help you in making the web store easily readable and aesthetically pleasing.
This work can become a lot easier using the Meta Box plugin and its code generator. Check out the plugin for yourself and start giving more information to your posts. We hope this article will help you in creating more informative and concise websites.