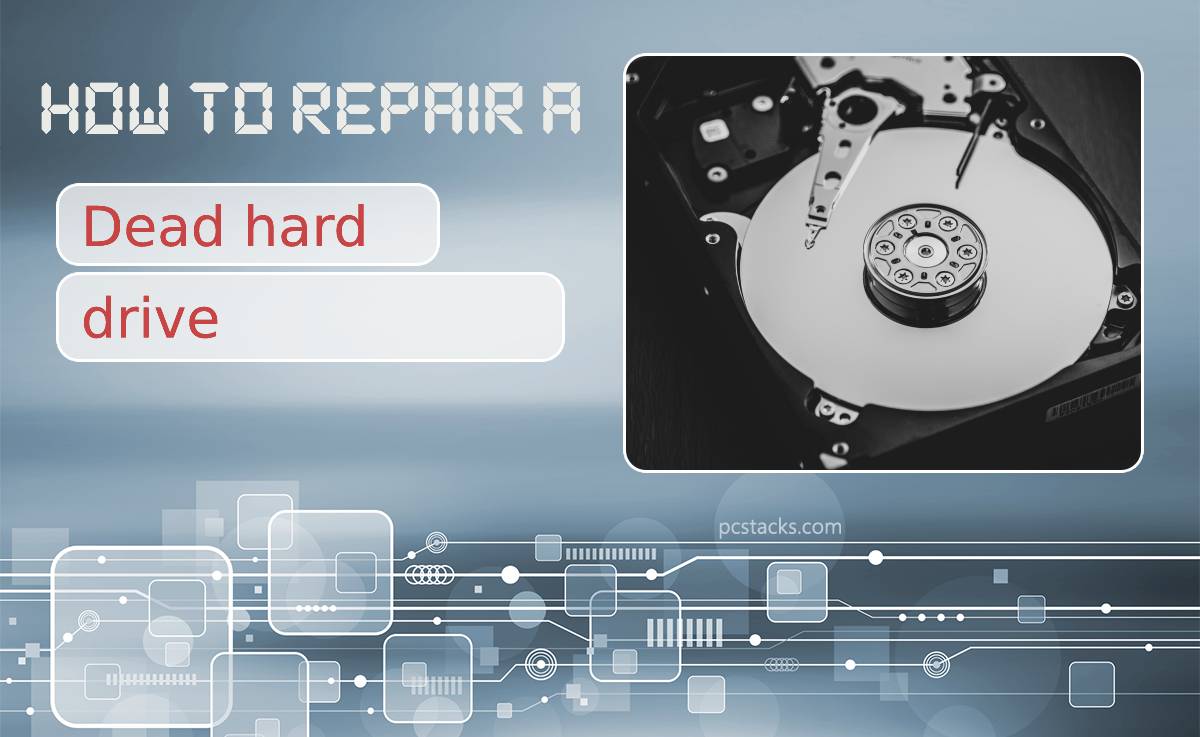
Electronic and electrical devices are well known to experience technical hick-ups that in many cases may cause them to die suddenly. Similarly, hard drives may die for many reasons leaving you in a very desperate situation, especially if this happens with your data inside.

There’s, however, more good news that will help swallow your grief, especially if you are already a victim of a crashed hard drive. You will be able to recover files from a dead hard drive! If you are a hardware engineer, it should be necessary to determine what causes the hard drive to die.
However, if you are just a user attempting data recovery from a hard drive, getting back your data may seem more important. We prepared this article to help you with the correct methods to recover data from a dead hard drive, including how to recover formatted hard drive. Read on to get a better insight into repairing a dead hard drive and retrieving data from it.
Table of Contents
How to Fix a Dead Drive
Before fixing a dead drive, check if the hard drive is recognized by your computer operating system. Suppose the disk is discoverable and can be seen by your system BIOS.
In that case, it means that the disk is identified, and a utility such as Disk Drill can be used to scan it and rebuild its master boot record (MBR) or even fix the other issues that make it impossible to boot.
How to Recover Data From a Dead Hard Drive
Step 1: Connect the Dead Hard Drive to PC
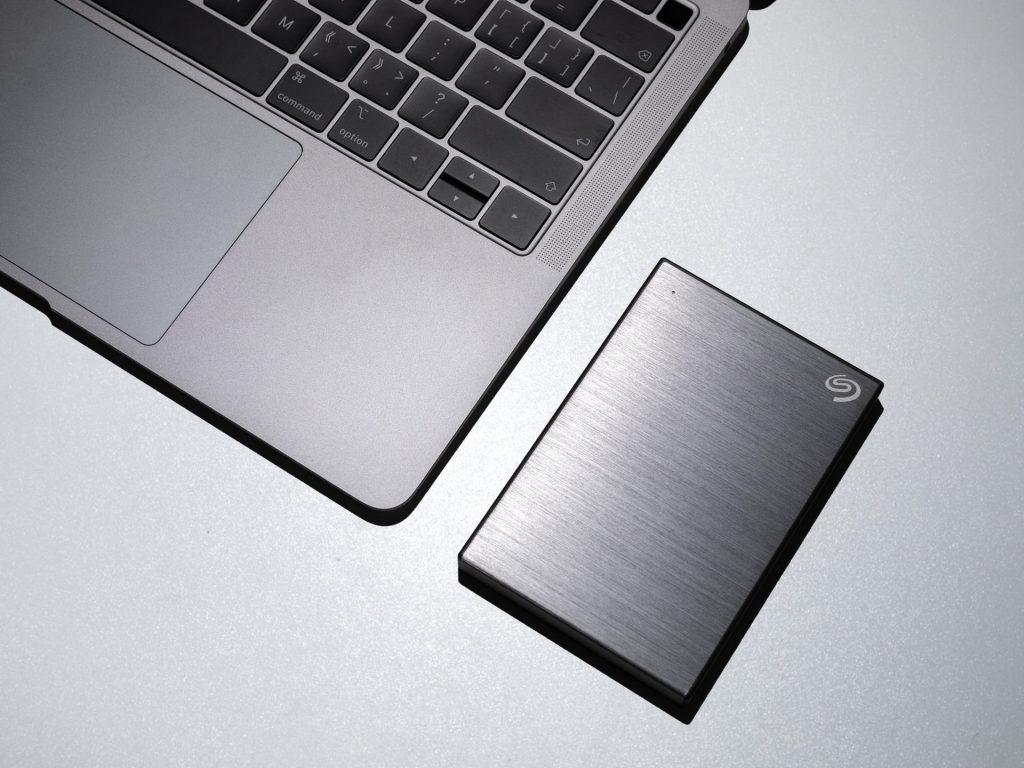
You can skip this step if you are using two drives on your PC or laptop, maybe one for your files and the other for your operating system. However, if your operating system was in the dead hard drive, first connect it to a working computer.
Open the case and connect the crushed hard drive using a SATA cable if you use a desktop. Connect one end of the cable to the hard drive and the other to the motherboard. SATA cables can be purchased online or at a local hardware store.
On the other hand, if you use a laptop, connect the hard drive to the computer using an external USB cradle designed to accept all the commonly used hard drives. The cradle is a more convenient way to connect hard drives to a laptop computer, especially if you intend to perform unbootable data recovery from the hard drive.
Step 2: Assess the Damage

Once the disk is successfully connected to the computer, start by evaluating the scope of the damage. In some cases, the drive might show up as another storage device, and you can transfer all the files from it to another storage.
The transfer is possible since it is the operating system that became faulty and not the hard drive itself. On the other hand, although the hard drive’s content will remain visible, Windows or Mac OS X may not transfer the files from it. Also, the disk may appear empty! In this case, you will need data recovery software.
Step 3: Recover Files Using Disk Drill

When every other attempt fails, Disk Drill developed by Cleverfiles comes to your rescue and will help you quickly get files off a hard drive that won’t boot. Among the many software designed to help with data recovery, Disk Drill stands out as a versatile software that supports data recovery from many types of devices and data recovery from dead hard drives.
The software has a user-friendly user interface and will make the recovery process more effortless. To recover data from a damaged hard drive with the software, follow the steps below:
- Download and install the software on your computer
- Launch the app and select the hard drive where you want to perform data recovery. Click “Recover” to initiate the process
- Preview the folders and select the files you intend to recover from the operation
- Save the files
The process takes a few seconds and will restore over 400 file types. Besides, you have the freedom to choose the type of files you want to recover and ignore those that you may not need.