Having inaccessible navigation can be genuinely detrimental to any site, and the reasons are many. However, one of the most obvious ones is that if users scroll down your site and can’t easily find their way back to what they wanted to see, they’ll likely click off and find the solution elsewhere.

Users clicking off damages your overall traffic and affect SEO and, most importantly, user experience. Therefore, not having access to proper navigation equals losing users. So, despite the fact you might not have even considered this to be important, it’s vital.
In this article, we’ll review a plugin that promises to tackle these issues and do it promptly by allowing you to create a sticky element that looks great and can be customized to a tee.
Table of Contents
Overview
WP Sticky is a WordPress plugin that allows virtually anyone to create as many sticky elements as they want without having to write a single line of code. So, if you are not a techie or are just looking for a way to quicken the process, this extension could be of use.
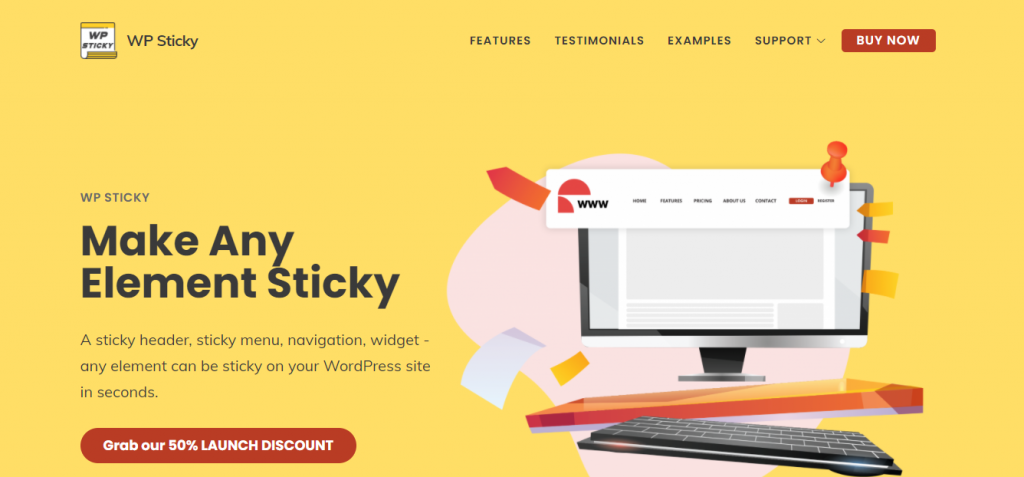
Not only can this tool be used to create a sticky menu or a sticky header, but pretty much anything you want, a video, a special promotion, etc. It is also easy to navigate, and using it is super intuitive even if you’re an absolute beginner.
Moreover, WP Sticky is compatible with every theme, page builder, or plugin, so there’s no way for incompatibility issues to rear their ugly head. But should a problem occur, the developers promise quick access to a support team that’ll aid in navigating the waters.
All of this sounds great, but to truly see what this plugin can do, we have to see it in action.
How It Works
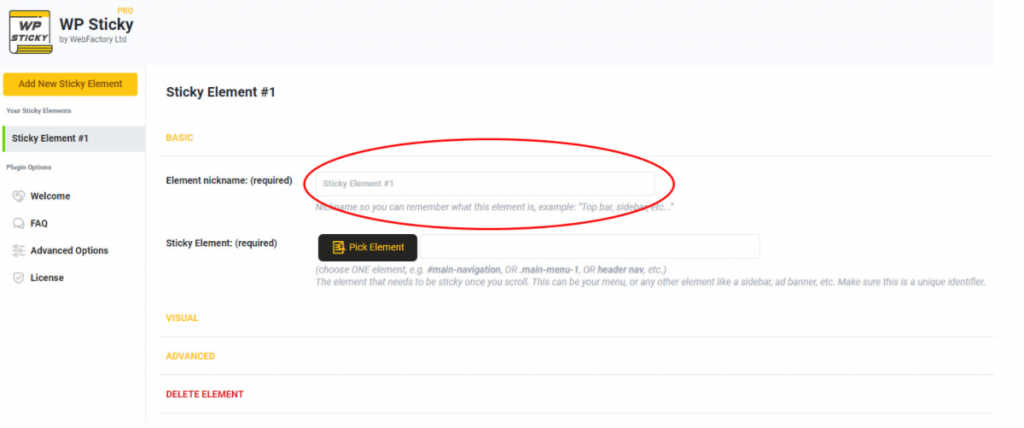
As promised, the user interface is relatively simple but still offers plenty of features. All you have to do to access it is navigate to “Settings,” find the plugin and create a new sticky element; before the process begins, you will have to name it; after that, you’re good to go.
The Visual Picker
One of this plugin’s standout features is the visual picker. When using this plugin, you won’t have to go around wasting your time searching for identifiers manually; instead, all there is to do is click the “Pick Element” button.
This will load your site with the WP Sticky menu attached at the top. As you move the cursor, you’ll notice lines around the elements you hover over. This is what helps you locate the correct identifier for the element you desire to make sticky.
Once you find the element you want to work with, click on it, and the plugin will automatically find the identifier for you and write it down.
However, you don’t need to use this feature if you already know the identifier of the element you wish to use; you can write it down on your own.
Basic Options
After you have your element in place, you’re entirely free to leave it at its default settings and move on. However, there are so many customization options to implement that it would be a shame not to utilize at least some.
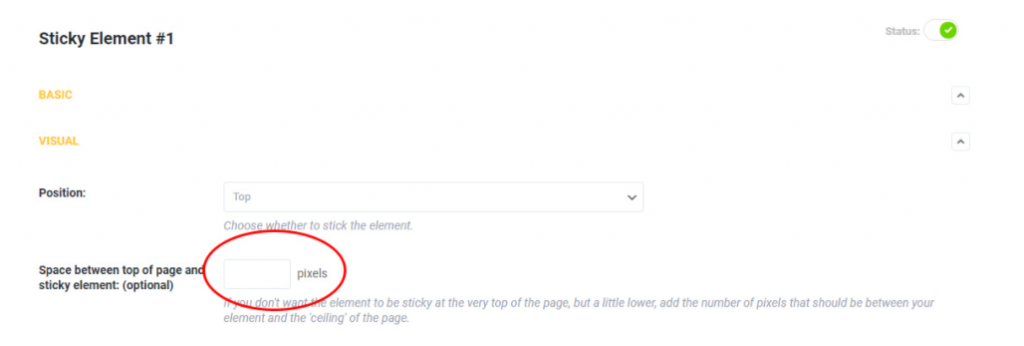
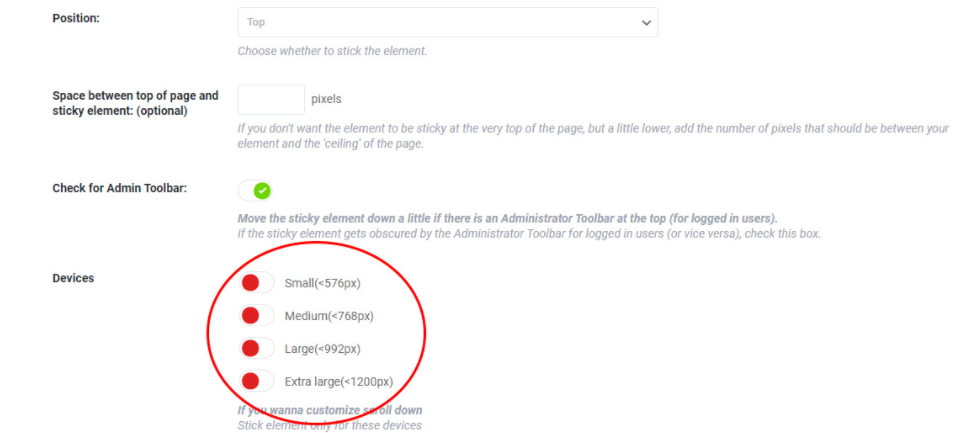
The first thing you can change is its position, whether you want it to stick to the bottom or the top of a page. Also, a handy feature included in this plugin is leaving some space between the top of the page and the sticky element.
We’ve all scrolled down a website with a sticky element that stays too close to the top, making it look clunky and strange. To move it a bit, all there is to do is put in the number of pixels.
Another great feature that comes in the basic options is to set which devices you want your sticky element to appear on. For example, if you want a more extensive sticky menu on a desktop but not on your phone, all you have to do is turn it on or off for specific devices, and with the simple click of a button, you’ll have whatever you want.
In addition, you can even add effects to your sticky element to make it more interesting, have it fade in or slide down. Try out both and see which you like better. Moreover, there are even options to adjust the opacity with a slider to make your sticky element more or less transparent and add a background color to make sure it pops and looks great on your page.
All of the mentioned actions are optional, and you don’t have to mess around with it at all if you don’t want to, but the option is there if you do.
Here are a few more optional customization settings:
- Setting a z-index, which controls the vertical stacking of items that overlap
- Changing the scroll range – the element will become sticky only after a user scrolled through, for example, 20% of the page
- Custom CSS – if you want even more visual customization than with the basic editor, you can even add custom CSS
Advanced Settings
After you’re done with all of the basic options, you can opt to get into the Advanced Settings for even more control over your sticky element. This is, of course, optional, but it can help you get everything exactly right.
Do Not Stick When the Screen Is Smaller/Larger Than X
Depending on how your site is laid out, you might not want to have a sticky element present on every screen size.
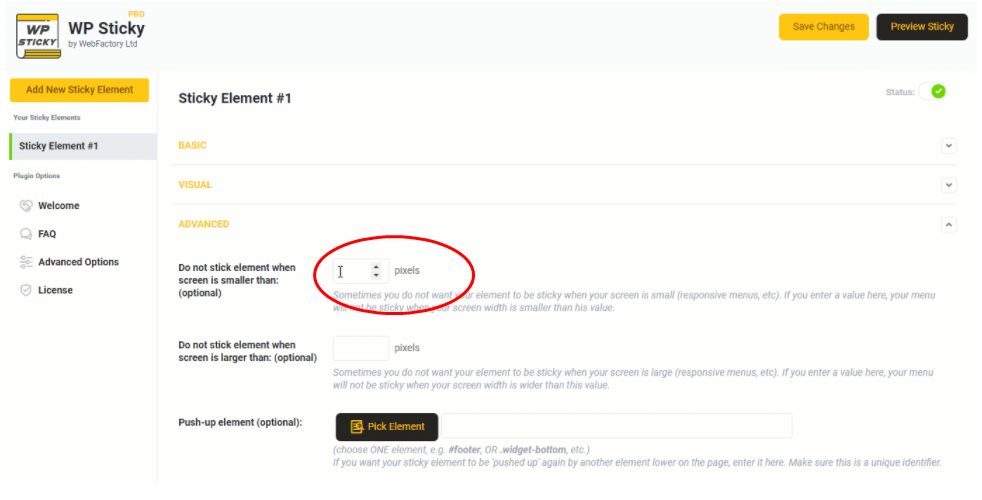
By entering any number of pixels in the provided text box, the element will cease to be sticky on any screen smaller than the provided number. The same can be done for bigger screens, and it works the same way.
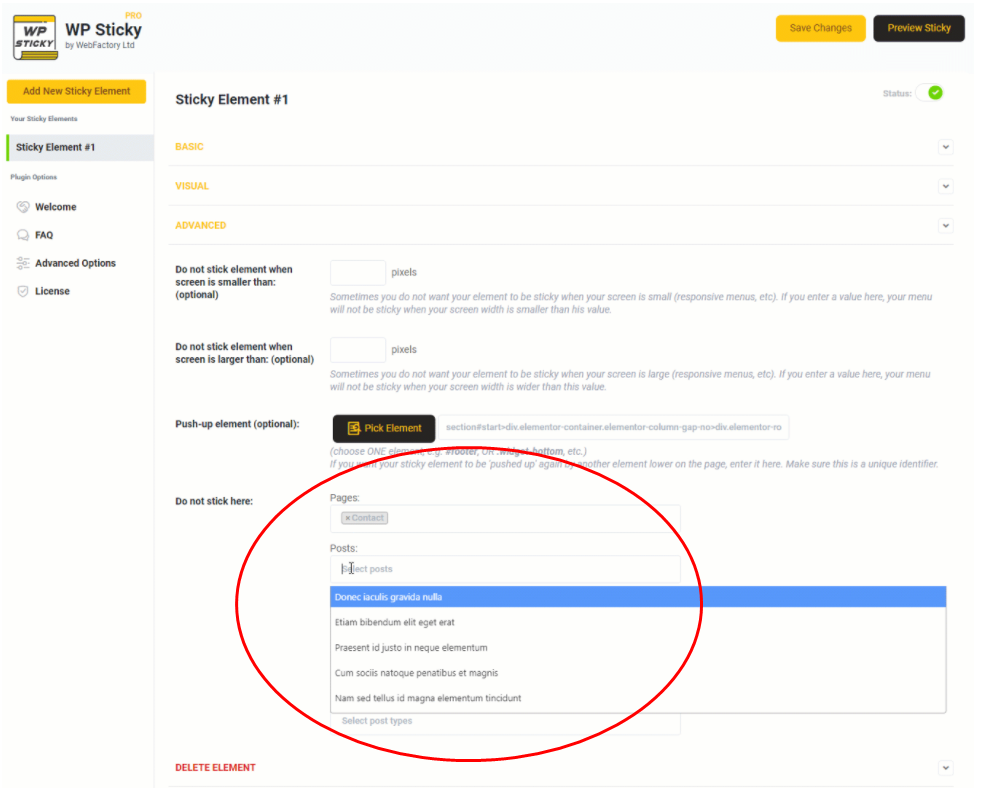
Push-Up Element
This option allows you to choose an element that triggers your sticky one and pushes it back to its original position. Ordinarily, your sticky menu, for example, will continue to be sticky no matter how far down a page the user scrolls.
However, if you choose an image or a post, etc., as your push-up element, your menu will automatically be pushed back up to its original position as soon as the user scrolls to the push-up element.
Do Not Stick Here
If you only stick with the basic options, your sticky element will behave the same no matter the post or the page the users find themselves on.
However, with the help of this tool, you can make it so that the sticky element doesn’t appear on a contact page, an about us page, etc., whatever you choose.
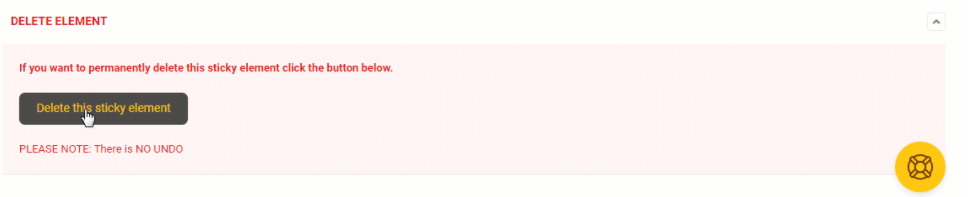
Delete Element
Last but not least, there’s the option to delete an element. However, it is worth mentioning that any sticky feature can also be deactivated through the plugin so that you can re-activate it should you so desire.
But if you want to delete it completely, click on the “Delete” button, confirm it, and it’s gone.
Price
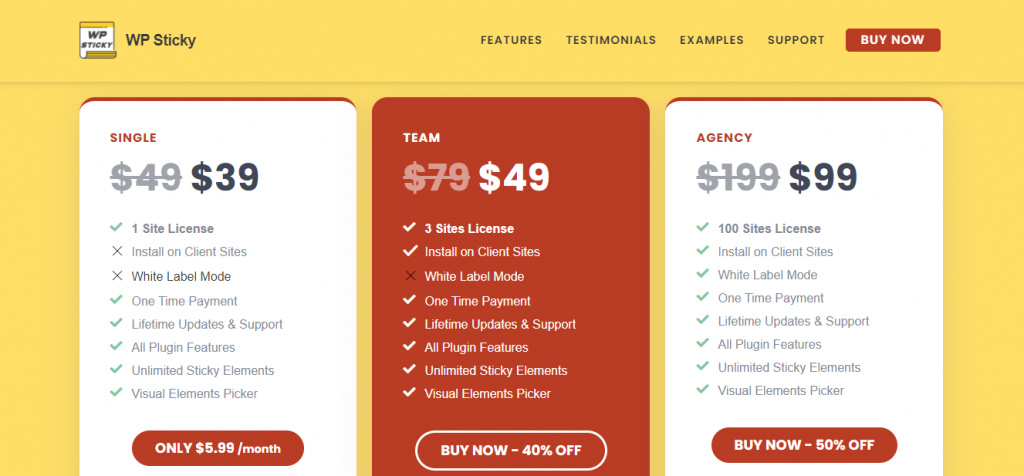
There are three different pricing plans for this tool, depending on what you need it for. For 39$, you can get a license for one site, all features included. The Team version comes with three licenses and the ability to install the plugin on your client’s sites, and if you’re working with many clients, there’s always the Agency.
The Agency plan costs 99$ and comes with 100 hundred site licenses and a white-label mode, which can come in handy if you’re working with many clients and desire to customize the plugin to match your brand identity completely.
Pros and Cons
Pros:
- Intuitive visual editor
- Plenty of customization options
- White label mode with higher pricing plans
- Professional support
- Fast and easy to work with
- Compatible with every theme and plugin
Cons:
- The only con we could find is if you’re super new to the game, you might find the price tag of 39$ a bit steep for a plugin such as this one
Should I Buy It
WP Sticky is a great plugin that comes with everything a plugin like this should have and more. So, if you’re in the market for a great tool that allows you to create great-looking and highly customizable sticky elements, we say go for it.
Also, this plugin is especially suited for agencies or those who work with many clients, as its higher pricing plans come with the white label mode, and when compared to some other tools on the market, the price isn’t that high either.