Displaying a carousel on a WordPress site can be beneficial for highlighting specific posts or products according to your planned marketing strategies. Furthermore, it’s a good way to showcase content for easier viewing.
Using a carousel plugin is an excellent and beginner-friendly way to configure your website’s carousel from the WordPress dashboard.
This article will walk you through the steps of creating a WordPress carousel, along with several plugin recommendations. Let’s dive in!
Table of Contents
1. Prepare the WordPress Website

It’s essential to choose a reliable hosting provider to accommodate your website creation objectives. Conduct research to find one that guarantees 99% uptime and a responsive customer service team to help you troubleshoot any problems.
If you’re a beginner website creator who plans to use WordPress for the long term, consider using managed WordPress hosting to ease your website building process. This option is also beneficial for developers who manage and oversee multiple websites.
Managed WordPress hosting improves website optimization – perfect for image-centric sites with carousels. Not to mention improved security features and a tailored WordPress support team, which saves you time to focus on creating website content.
WordPress hosting plans come with different prices according to their features and resources. It’s also easily scalable as you can adjust hosting resources as your site grows. Get it here to ease your website-building process.
2. Design the Website’s Layout
Find references from other websites’ homepage layouts that you find interesting. After that, start roughly designing your own, specifically where and how you want to put the carousel.
Keep in mind that it’s also best to make your website’s layout and carousel responsive and mobile-friendly. So, don’t forget to check how your references present carousels on mobile devices.
By knowing how you want the website homepage to look, you can better estimate the carousel’s size and dimensions. Additionally, it helps you decide which type of carousel to display.
See below for a list of different carousel types:
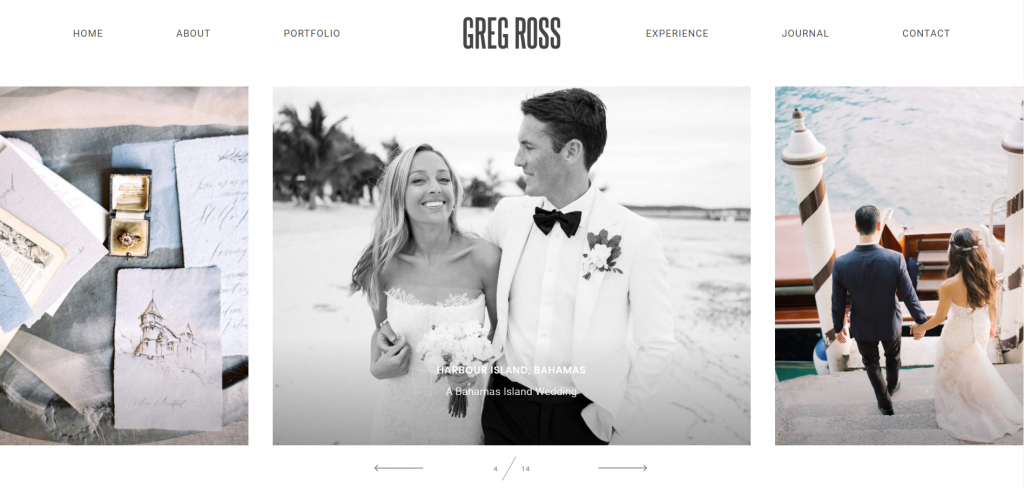
- Image carousel – consists of static images with or without a URL for visitors to click. It’s suitable for eCommerce websites’ landing pages or a sliding gallery for blogging and portfolio websites. Take Greg Ross’ portfolio web page as an example.
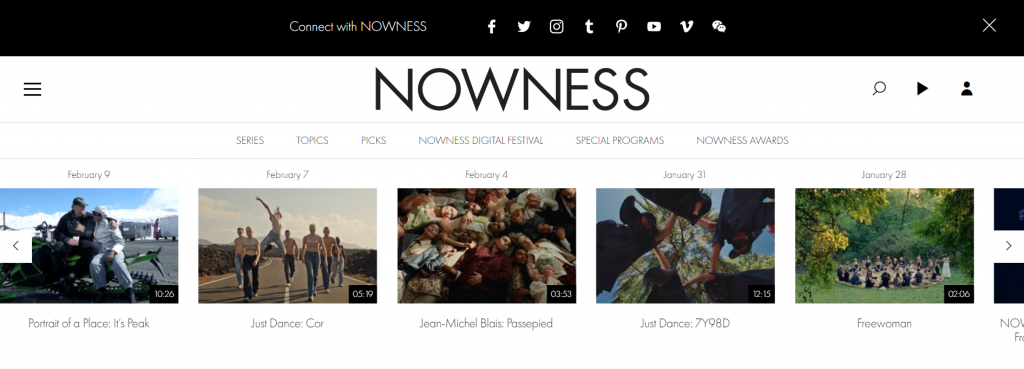
- Video carousel – shows videos from multiple sources like YouTube, Vimeo, or your own WordPress media library. It’s also possible to customize different video icons as the thumbnail, as Nowness’s video portfolio shows.
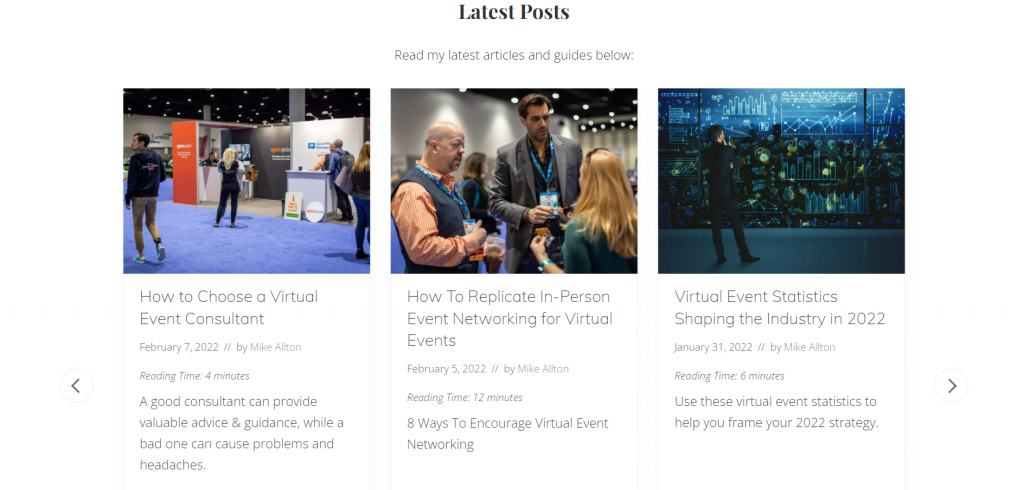
- Post carousel – displays your latest WordPress posts with the title, featured image, and a short description. See the example below from The Social Media Hat’s homepage.
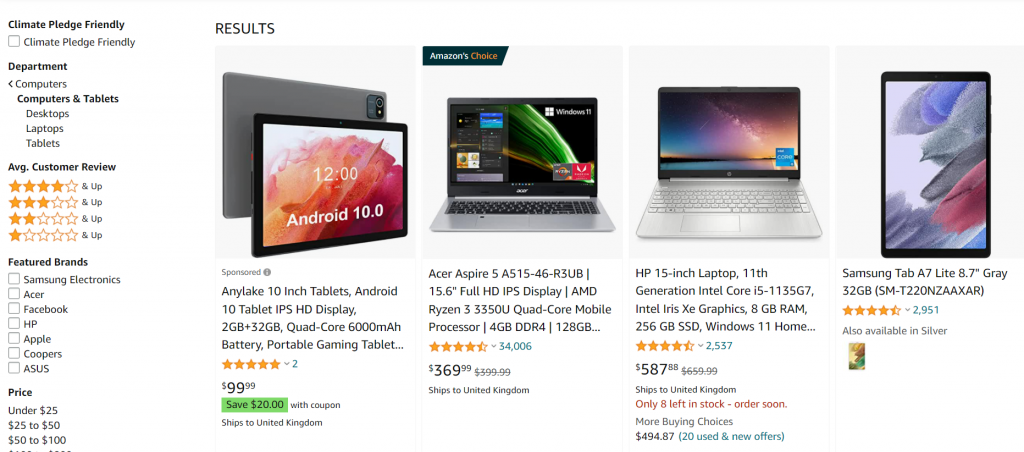
- Product carousel – allows you to curate a product sliding gallery that shows an image, rating, price, and an add-to-cart button. Many carousel plugins integrate well with WooCommerce, a perfect solution for online stores. Below is an example from Amazon’s site.
- Hero carousel – creates sliding hero background images for your homepage. These are large featured pictures that you want to showcase to grab visitors’ attention. Take a look at Nutella’s display images as an example.

3. Choose the Carousel Plugin
Every carousel plugin offers different features and user interfaces. Therefore, it’s important to choose the most suitable one for your desired design and website goals. Below are five carousel plugin recommendations.
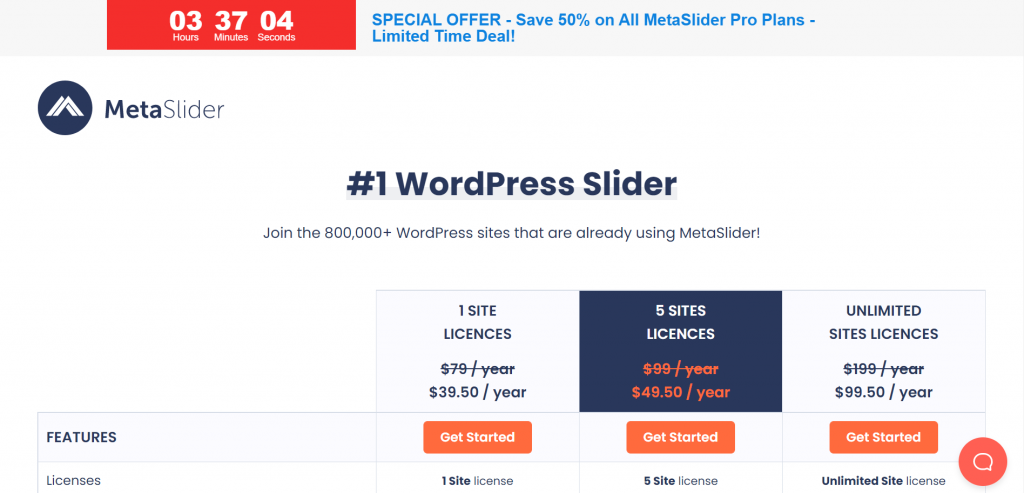
1. MetaSlider
MetaSlider has search engine optimization (SEO) functionalities to help you create and optimize image carousels, slideshows, and galleries. It also complies with Web Content Accessibility Guidelines (WCAG) by having a responsive photo gallery.
To create a carousel, simply drag and drop content before completing the slides’ caption, link, and SEO fields. MetaSlider also provides four types of slideshows and over 20 transition effects.
Moreover, filters are available for carousels to fit your chosen WordPress theme. Customizing the CSS code is also possible if you subscribe to the premium plan for $39.50 per year.
2. Carousel Slider
This plugin works with popular WordPress page builders like Elementor, Gutenberg, and Divi Builder. Furthermore, if you’re building an eCommerce website, this plugin supports WooCommerce sites with product carousel options.
Carousel Slider lets you create responsive sliders by configuring the number of items to display on different devices. It also offers multiple navigation options and unlimited color customization.
The features are beginner-friendly, and they are all free. If you want to create a more advanced WordPress carousel, the plugin also provides CSS 3D acceleration. Additionally, creating multiple carousels on one page is possible using Carousel Slider.
3. Jetpack
Many WordPress hosting plans come with this plugin installed by default. Jetpack is a popular multifunctional plugin that can improve your website’s security and general performance. One of its other functions is to create an image carousel gallery on your website.
However, as it is not a specific carousel slider plugin, Jetpack can only create basic carousel images as a gallery on WordPress posts. It’s most suitable for users who want to create simple image carousels.
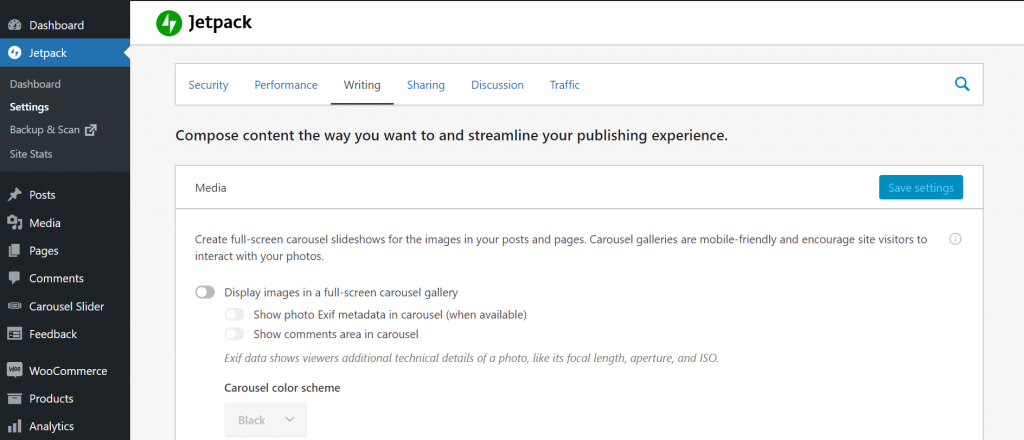
Jetpack installation is free for basic features, which include the image carousel.
4. Ultimate Carousel For Elementor
This carousel plugin is beneficial for website owners who use the Elementor Page Builder on their WordPress. You can create carousels for any kind of content, such as testimonials, team members’ profiles, images, or videos.
Users don’t need to pay anything to activate this plugin, and its interface is beginner-friendly. It’s also responsive and touch-enabled, so you can drag and swipe the carousel to move it.
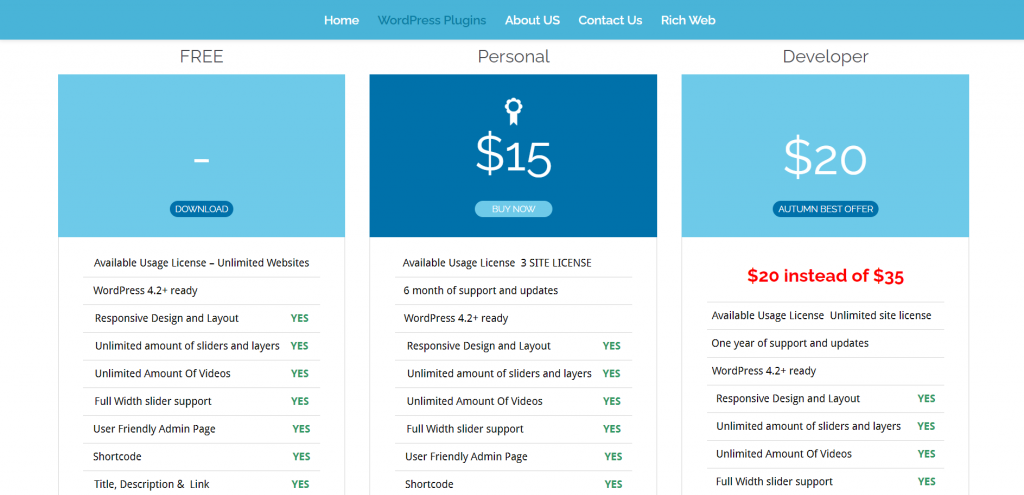
5. Video Slider
This plugin is an excellent option to create video sliders. It is user-responsive and supports multiple layouts with the thumbnail slider or the slider post feed.
You can also add a slider in the widgets from the WordPress admin panel. Alongside that, there are options for creating different slide transitions for your carousels.
All basic features are free to use, whereas the pro version’s price starts from $15.
4. Install and Activate the Plugin
Regardless of which WordPress carousel plugin you choose, the next step is to activate the plugin.
The installation process is quite simple:
- Go to the Plugin menu on your WordPress dashboard, then choose Add New.
- On the search bar, type the name of your desired plugin, then hit enter.
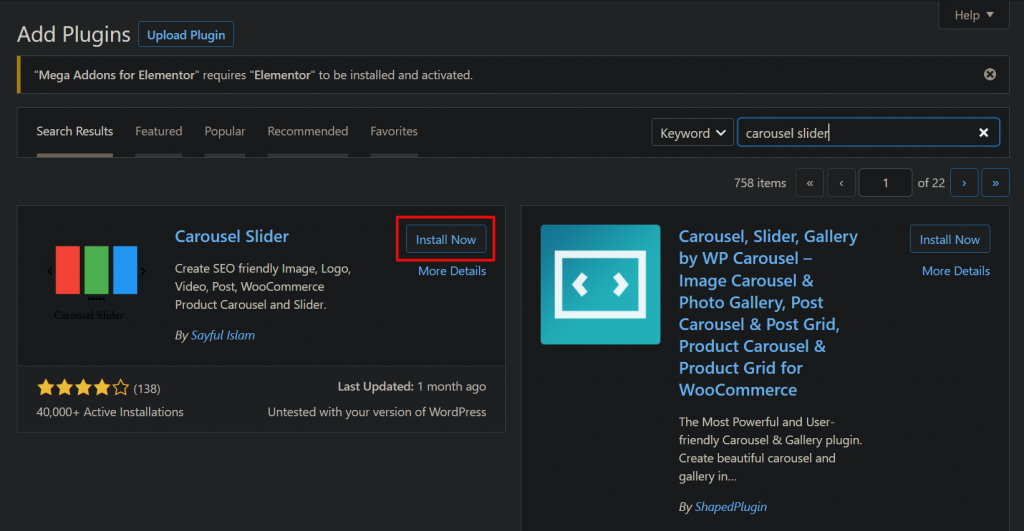
- Once you see the plugin, click on the Install Now button.
- In a few seconds, the button will turn into Activate – click on it. Then, the plugin menu will be available on your dashboard.
5. Customize and Publish the Carousel Post
After installing the most suitable plugin, it’s time to design and customize the carousel content. Make sure to do some research before this step, as most plugins provide video tutorials to guide you through the process.
Each plugin has different display settings and navigation type options, so it’s important to know this information before designing your carousel. Also, ensure that it doesn’t conflict and is compatible with your other activated plugins – mainly if you use a WordPress page builder.
Then, make sure to review if your carousel is working correctly by checking the preview. If you have a WordPress staging area, we recommend making changes there first to prevent errors from occurring on your live website. If there are no issues, you’re ready to publish and showcase your carousel on the website.
Conclusion
Displaying a carousel on your WordPress website improves its look and can attract more viewers. Moreover, carousel sliders are more engaging and dynamic than static content, so they can help you gain more clicks and highlight particular posts.
Here’s a recap of the steps to create WordPress carousels using a plugin:
- Prepare the WordPress website.
- Design the website’s layout.
- Choose the carousel plugin.
- Install and activate the plugin.
- Customize and publish the carousel post.
WordPress carousel plugins are an excellent way to showcase content sliders without editing any code, which means it’s a great solution for beginners. However, since each plugin has different functionalities, conduct proper research before activating one on your WordPress site.