Computers and laptops have become crucial parts of our lives. Using them in several ways is pretty easy. But, there are some pretty amazing things you can do with your laptops and desktop. One of these things is to use your laptop as a second screen monitor. Yes, you can do it. It means you can use your laptop’s screen as a secondary monitor with another system.
Whether you are a gamer, developer, or normal computer user, the need for a second monitor can be there anytime. So, if you are also one of those people, you got lots of options to do this thing pretty easily.
However, most people are not aware of how to do it, although the features come along with the operating systems. So, here we are with the best ways to setup dual monitors windows 10 easily.
Using simple methods, you will be able to connect any of your laptop screens to another PC and cast anything you want. This thing comes handy when you have to compare two different things with each other or see any related data sets on two different screens.
So, whatever your requirements are, we are here to give you the best ways to do it. So, let’s start without further discussions.
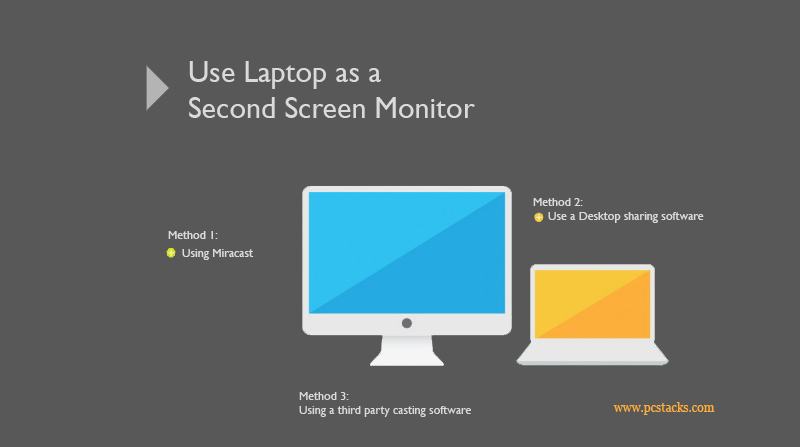
Table of Contents
Method 1: Set up dual monitors Using Miracast
Windows operating systems are equipped with an impressive tool known as Miracast. It helps a lot to easily connect secondary screens to your computers and project our computers there.
It works in cross configurations means you can either project your computer’s screen to any other devices or vice-versa. So, if you want to set up dual monitors windows 10, you should try to use this feature of Windows first of all. Setting up Miracast is pretty easy.
You have to set it up on both sides so that a connection can be established successfully. So, without further discussions, let’s start discussing how you can do it.
Settings to perform on the recipient system/laptop
On the system where you want to project from your main computer, you will have to enable some settings so that you can start casting on the go. So, in order to use your laptop as monitor, make sure to do these settings on it first of all.
- Go to the main menu of Windows by click on the Windows button.
- Go to the settings menu.
- Now, choose the option “System.”
- After that, Click on “Projecting to this PC.”
- In the first drop-down, select the option “Available Everywhere.”
Set a pin if required; otherwise, you are ready for the next process. The settings will apply if you have a Windows 10 system. In case you are using any other Windows version, you can easily find the projecting features and turn its availability On.
Read more: 16+ Atom Quad Core Vs Celeron Dual Core Comparison [Unfailing details]
Settings to perform on the Primary System/laptop
On the PC from where you want to project your screen, you will have to start casting right away. Now, when the laptop is ready to become a screen, it’s time to let your primary computer sending its screen to a new screen. Crucial settings that you will have to perform are as follows.
- Click on the Notification icon given at the bottom right corner.
- Now, click on the “Connect” option.
- Now, the computer will search for the available devices nearby you.
- Once you get the name of your secondary computer there, click on it.
- Accept the request on the secondary computer/laptop to confirm
- Now, right-click on the desktop and go to the Display Settings.
- Go to the Display menu section and choose Extend desktop to this display.
After doing all these things adequately, you will surely be able to connect your second screen. By choosing multiple display options, you can easily have two screens with the same content. So, as per your choice, you can pick your desired one easily.
Note: The systems with dedicated graphics cards may face problems while you try to connect them using Miracast. However, try changing your default driver to intel if you are not able to do this thing.
Method 2: Best way to Use Laptop as a Second Screen Monitor with Desktop sharing software
If you are facing any issues with Miracast or do not want to use this for any reason, you have another effective but a bit complicated solution for this. On the internet, you will find lots of desktop sharing software that will allow you to cast your screens remotely through the internet.
Teamviewer is one of the most popular software among them. So, you can try using it for yourself. It is a free tool which will surely help you to use your laptop as a screen. To configure two screens for sharing, you can use the process given below.
- Go to Teamviewer and download this software on both your primary and secondary systems.
- Install the software on both devices and note down the TeamViewer ID of the first system
- Now, on the second system i.e., laptop, enter this ID into the Partner ID field and then hit Connect option.
- The computer will ask for your desktop password, enter it.
- Now, you will be able to connect your computers properly.
A good internet connection is required to make the casting process error-free. Along with this, make sure to have the latest software installed on your computer.
Method 3: Using a third party casting software
To set up dual monitors windows 10, you can also use a third-party casting tool such as Tubecast and Airserver are some of the software you can use for screen mirroring. It can help a lot to easily connect your laptop as a second monitor with a couple of clicks.
You can also use Space Desk, which is quite a popular service available in this domain although you must have a computer with good configurations for the best results. These software are great to use when you have one system with a Windows operating system and one with any other.
Along with this, the third party screen-mirroring software is great to establish remote connections. Lots of people prefer using this software as compared to Miracast or any other process. So, you can also pick any of the best screen casting software for you and start casting right now.
How to use laptop as a second screen monitor for PS4?
When you have a PlayStation in house, it is important to have a good screen to have the most out of it. But, sometimes, it may be tough to find the right screen to have great gaming experience.
So, if you have a laptop, you can use it too to connect your PlayStation 4 and start playing games on it. The process of connection might be tough for some people. So, in order to use laptop as monitor on PS4, follow the process given below.
Using the HDMI port of your laptop
Most of the laptops come along with the HDMI (High Definition Multimedia Interface), allowing the users to connect the laptop with external devices. Fortunately, your PS4 can also be connected to the laptop with this port.
Different laptops will have different HDMI ports, such as Standard, Mini, and Micro ports. You can easily purchase normal or convertible cables to ensure an easy and reliable connection.
USB to HDMI cables are used for this process. This is perhaps the easiest and effective way for this sort of connection.
Using PS4 Remote Play
If you do not want to use the conventional HDMI connection process, you can go for this advanced procedure to ensure a much more stable and easy connection. Using PS4 Remote Play, you can effectively have great results for you. The process of connection is as follows.
- Check PS4 Remote Play by going to this link. [Check Here]
- Install the software on your Windows computer. The software also supports Mac.
- On your PS4, turn On Remote Play by going to Settings>Remote Play connection setting>Check Enable Remote Play.
- Put your PS4 in rest mode and connect the joysticks.
- Launch the program on your laptop and log in to your PS credentials.
- Your software will start searching for the PS4. Once it is found, connect the systems and start playing.
Note:
Some games may not support the Remote Play option. Also, the quality of graphics may vary depending on the configurations of your system and various other factors. You are advised to place your systems as near as possible for good results.
Perform second screen monitor using a video capture Card
A video capture card is a device used to ensure stable video connections between two or more devices. So, you can use these amazing devices to use laptop as a monitor for PS4. You can easily find lots of these devices on online shopping platforms or from the nearest electronic store.
You can either use it with a common internet section or change its network settings and use it as a central hub for a secure connection. These cards come along with the software packages to make necessary changes to the settings and other connection parameters.
These video capture cards are widely used by gamers and for other normal usages too. So, you can also use it for secure connections with your PS4 and laptops or even computers.
If the above process does not work well for you, you will surely be able to get good results with this one. It will worth your efforts and money and will turn into beneficial investment.
Related Article:
- 8+ Accredited Steps to Fix Taskbar Not Working Problem in Windows?
- How do I use Best PROSet Wireless Software on Windows 10?
- Exclusive Guide: 1+ Ways to fix 100% Disk Usage on Windows PC
Final Words
We hope this article will help you to easily use your laptop as a screen or connect multiple screens to a single system. Also, the process of the PS4 connection will surely help you with everything. You are required to perform all the given settings properly to have maximum benefits.
Also, if anything is not working well, you may connect with your computer support services or tech support. Although all these things are fully tested and tried, if you are not able to perform any settings, you may connect with the professionals.
We hope this article has helped you with everything you were searching for. Make sure to give your feedback in the comment section. Also, share this article with others to help them with the same thing.
We keep coming with this sort of article from time to time. So, make sure to start connecting with us and get help with various tech-related articles. You will surely receive great benefits.